Custom domains
For a domain without a hosted website, this process takes 5 minutes.
For a domain already hosting a website, the process usually takes 15 minutes.
You have the option to connect a custom domain to your site, rather than being limited to the default *.capable-sites.com subdomain. This feature is particularly useful if you prefer to host your website on a domain that you own and control.
For instance, the website help.gocapable.com is an example of a Capable Site that is hosted using a custom domain, illustrating how you can personalise your site's web address to better reflect your brand or organisation.
#Prerequisites
Ensure you have the right to set up a custom domain.
If your custom domain already hosts a website, remove DNS records for validation or the CNAME.
If your website uses AWS Cloudfront or an app like Scroll Sites, delete them.
#Adding a custom domain
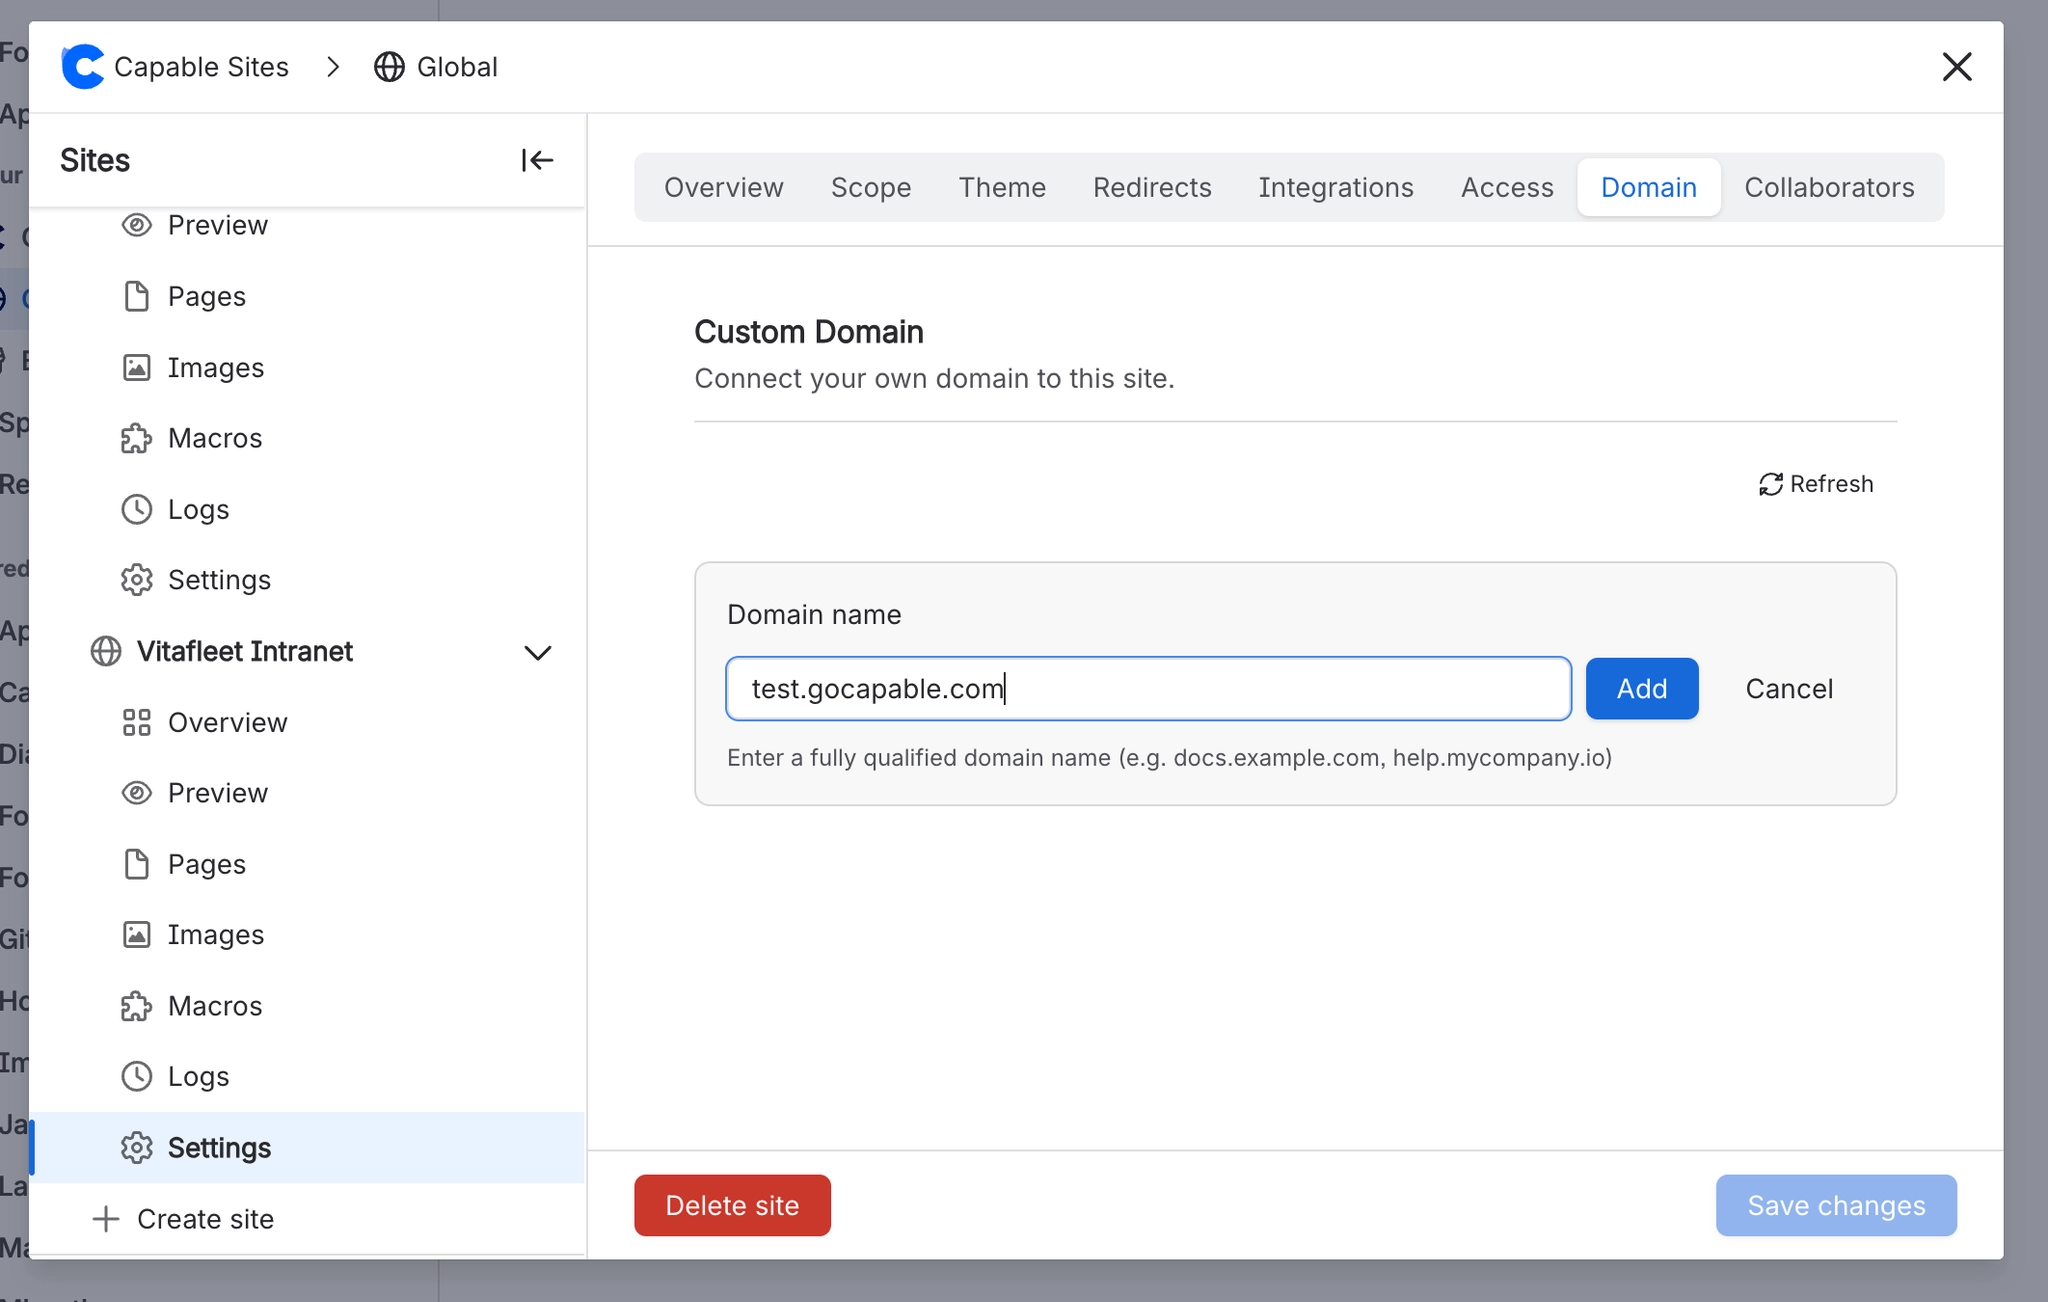
1. Go to the Domains tab in site settings
2. Enter your custom domain (e.g., docs.yourcompany.com)
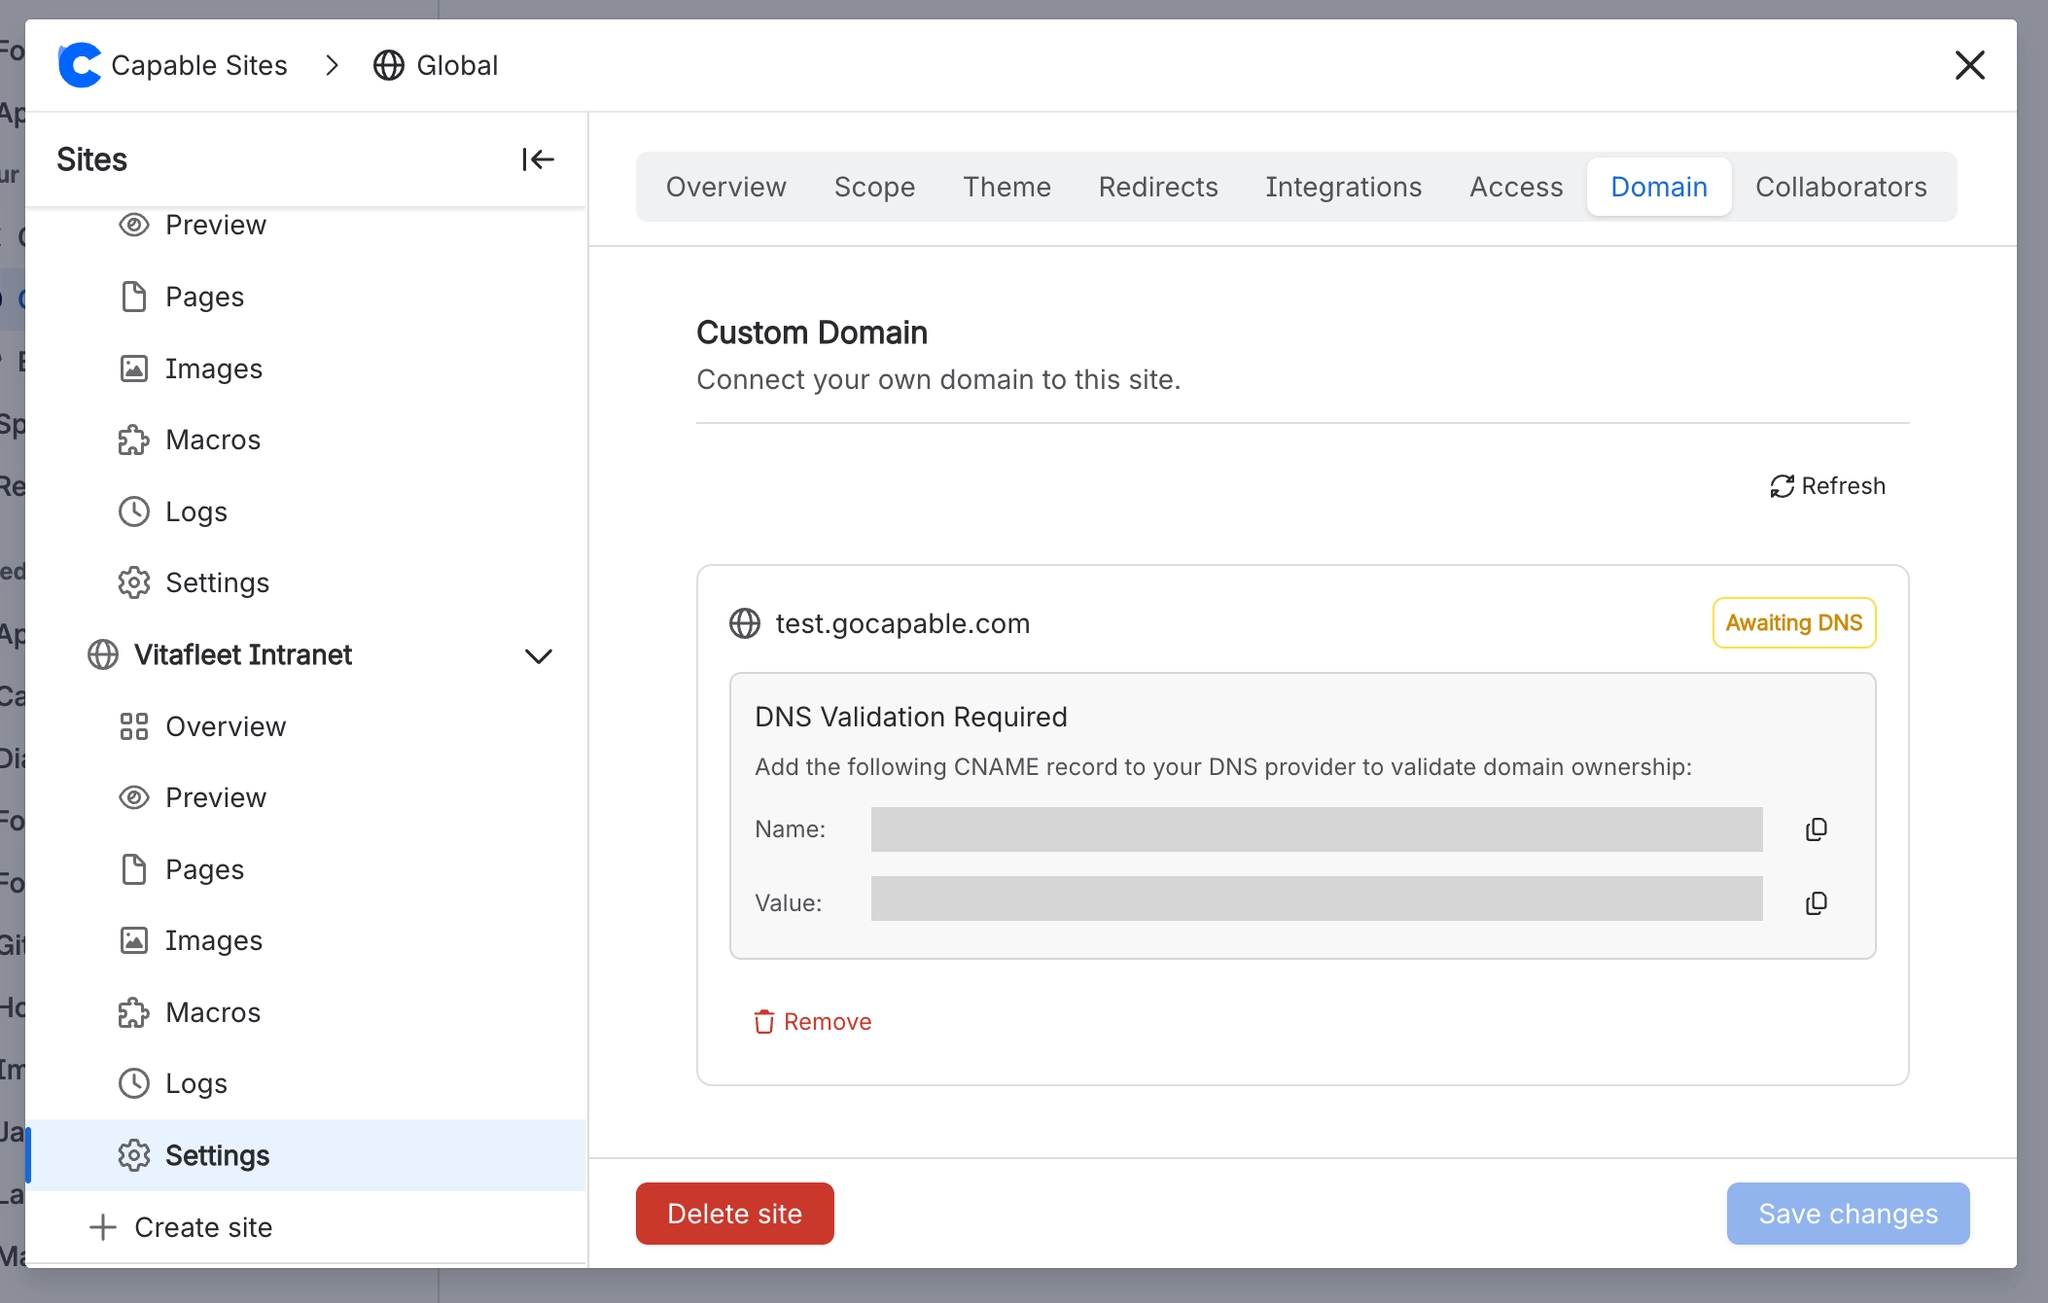
3. Add the verification record to your DNS provider
4. Wait for verification; then your site will be provisioned
5. Add the CNAME record to your DNS provider
6. Deploy your site to production

#DNS configuration
After adding a domain, you need to create two DNS records with your DNS provider:
Validation CNAME: Points the validation hostname to the ACM validation target. This proves you own the domain and allows the SSL certificate to be issued.
Domain CNAME: Points your custom domain to the CloudFront distribution domain provided in the domain details.

#Provisioning status
Domain provisioning goes through several stages:
Status | Description |
|---|---|
Pending validation | Waiting for you to add the DNS validation CNAME record |
Validating | DNS record detected, certificate is being validated |
Provisioning | Certificate issued, CloudFront distribution is being created |
Active | Domain is fully configured and serving your site |
Failed | Provisioning failed — check the failure reason for details |