Set up automated approvals
You have three options for routing approvals:
#1. Manual requests
Use the built-in approval request panel to ask specific people for approval and set it up on an ad-hoc basis.
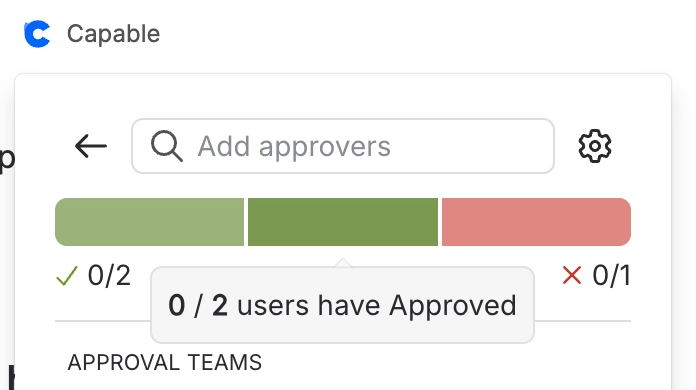
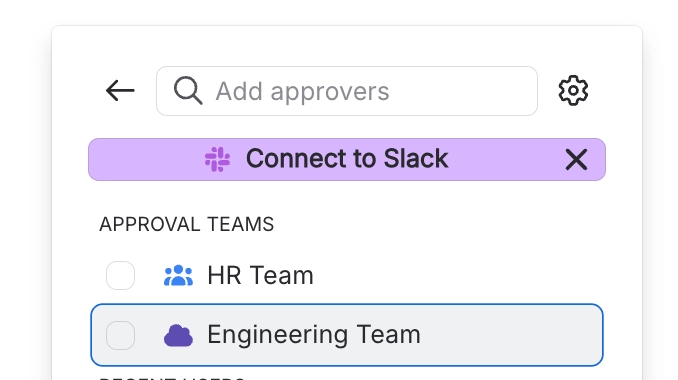
1. Click on approval in the page header (or from the Capable menu)
The interface displays all available teams and recent users from whom you requested approval.

2. Select the users or team that you’d like to assign
The required approvers, rejections, and expiration settings appear in a graphical chart at the top, providing a clear overview of your application.
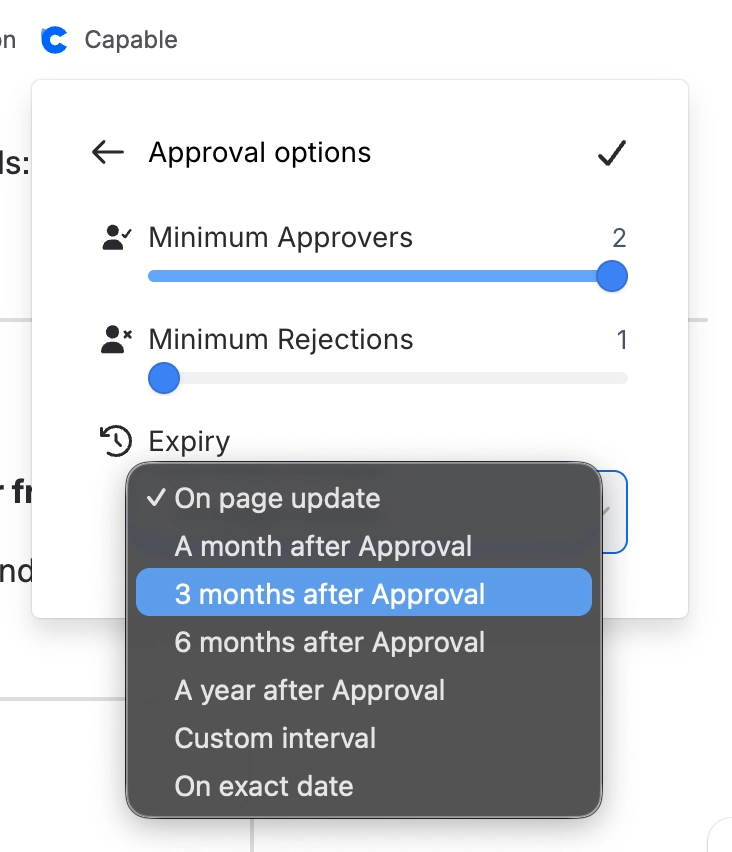
3. Click the settings button in the corner to change options.
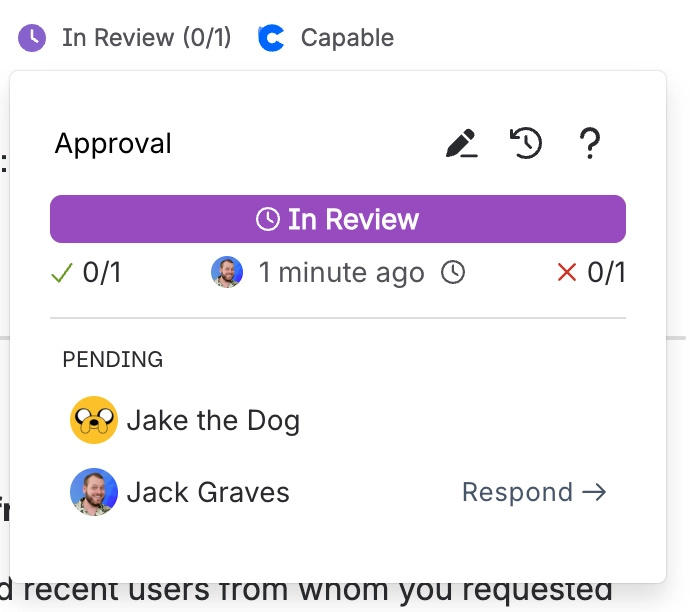
3. Click ‘Send request’
The status panel is shown, giving an overview of the status.
4. Approval is applied to the page
The approval data is stored and notifications are sent (email and/or Slack).
#2. Automated requests with one team
You can configure Capable to require a specific team approval for certain actions within your workspace. This setup allows you to control and monitor key changes effectively by involving the designated team in the approval process.
When a new page is published within the current space, Capable can automatically trigger a request for approval from the specified team.
When an existing page is updated in the current space and does not already have an approval assigned, Capable can initiate the approval process with the designated team.
These approval triggers operate independently of each other, meaning you can enable one or both based on your specific requirements without any conflicts.
This flexible setup makes it straightforward to automatically enforce team approvals within a space, simplifying governance and ensuring that important content changes are properly reviewed.
You must be a Space admin to set this up.
1. Open the Space Settings
Automation is applied at the space-level, so that different spaces can have different configurations.
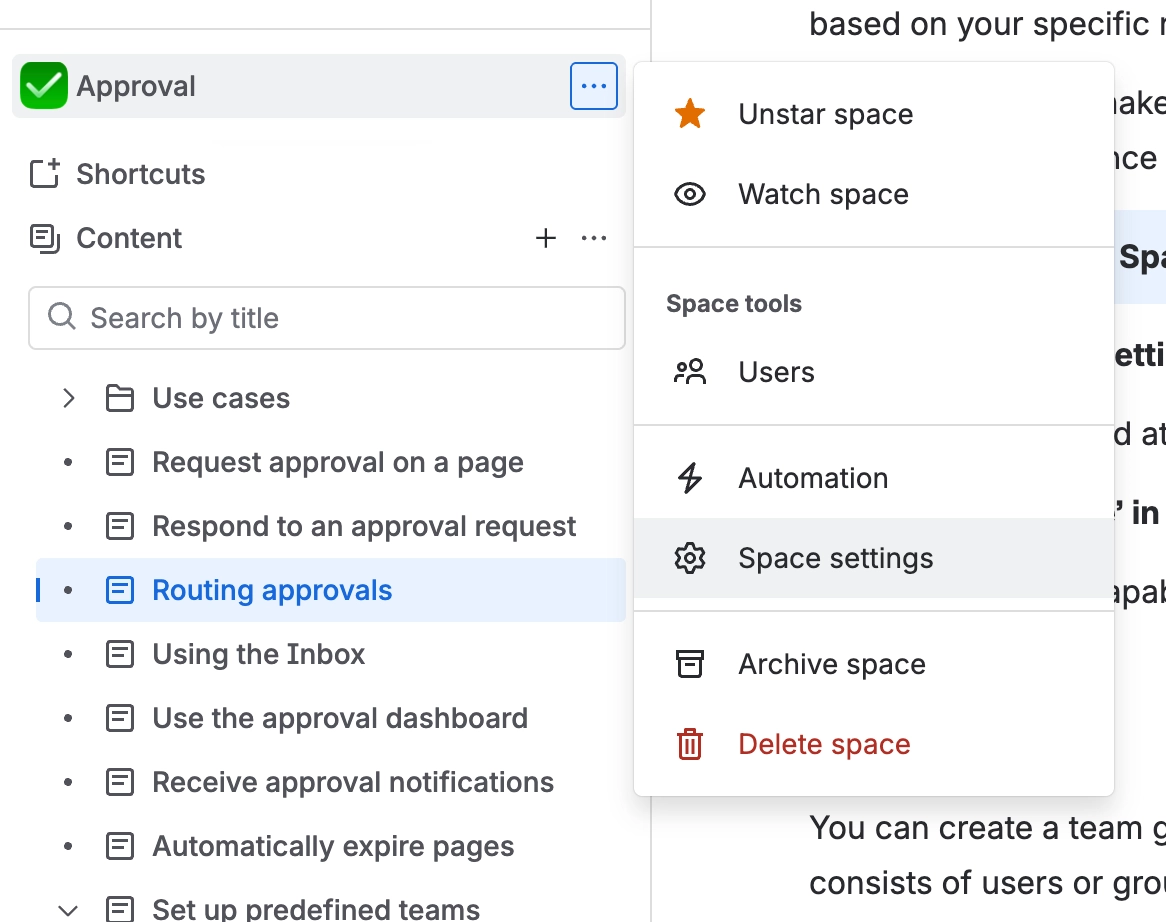
2. Click on ‘Capable’ in the ‘Integration’ section
This will open the Capable Space Settings.

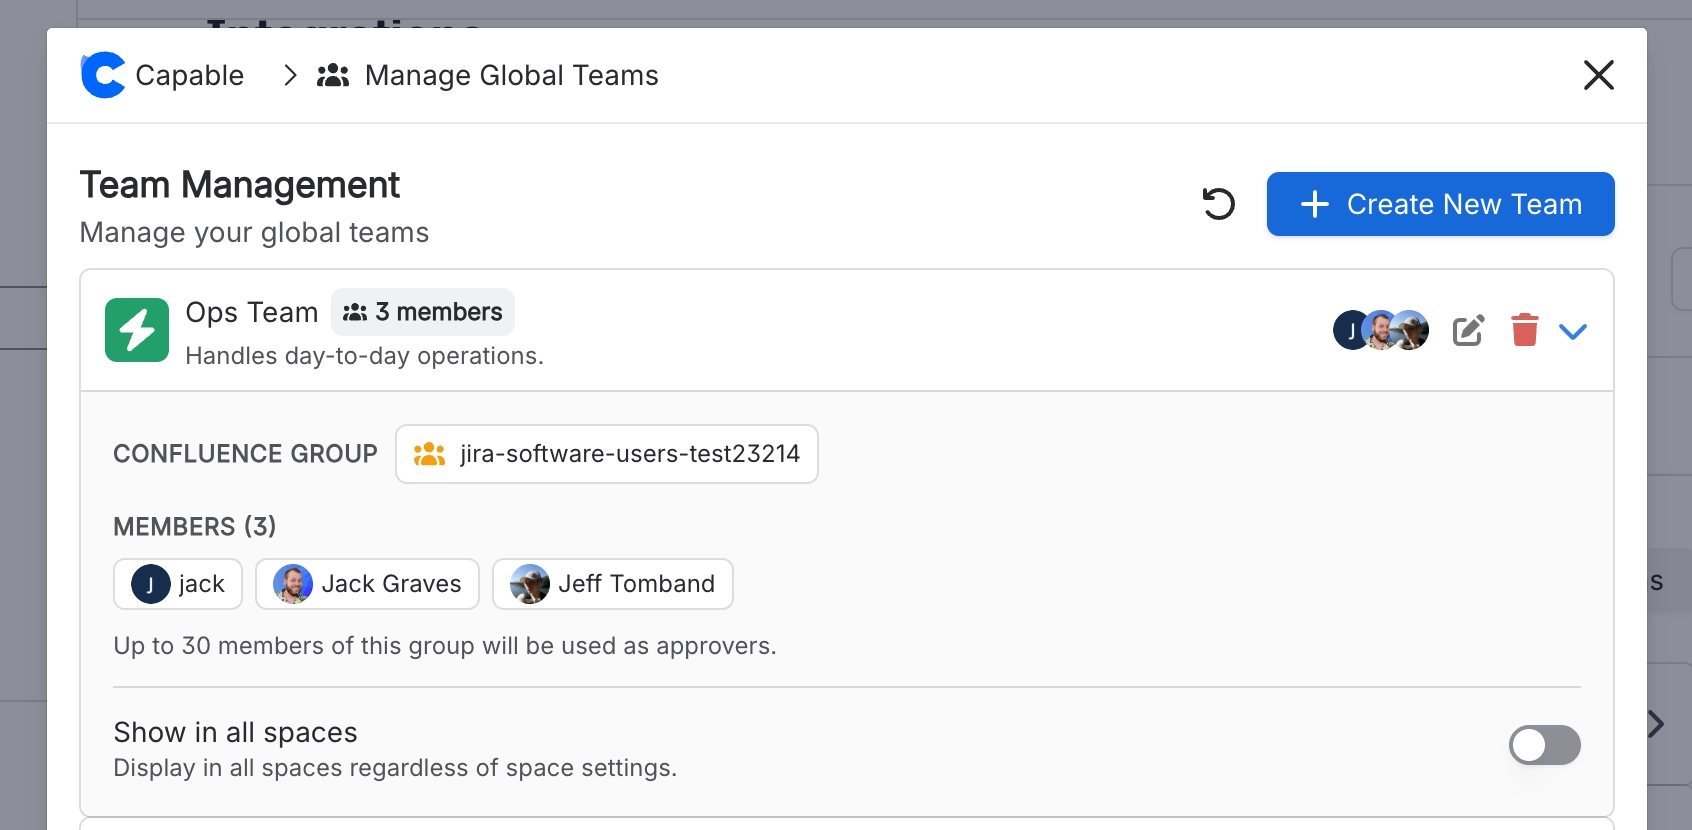
3. Set up a team
You can create a team globally as a Confluence admin or within a space as a space admin. A team consists of users or groups in Confluence.
You can now create a Globally Managed Team to make it available across all spaces.

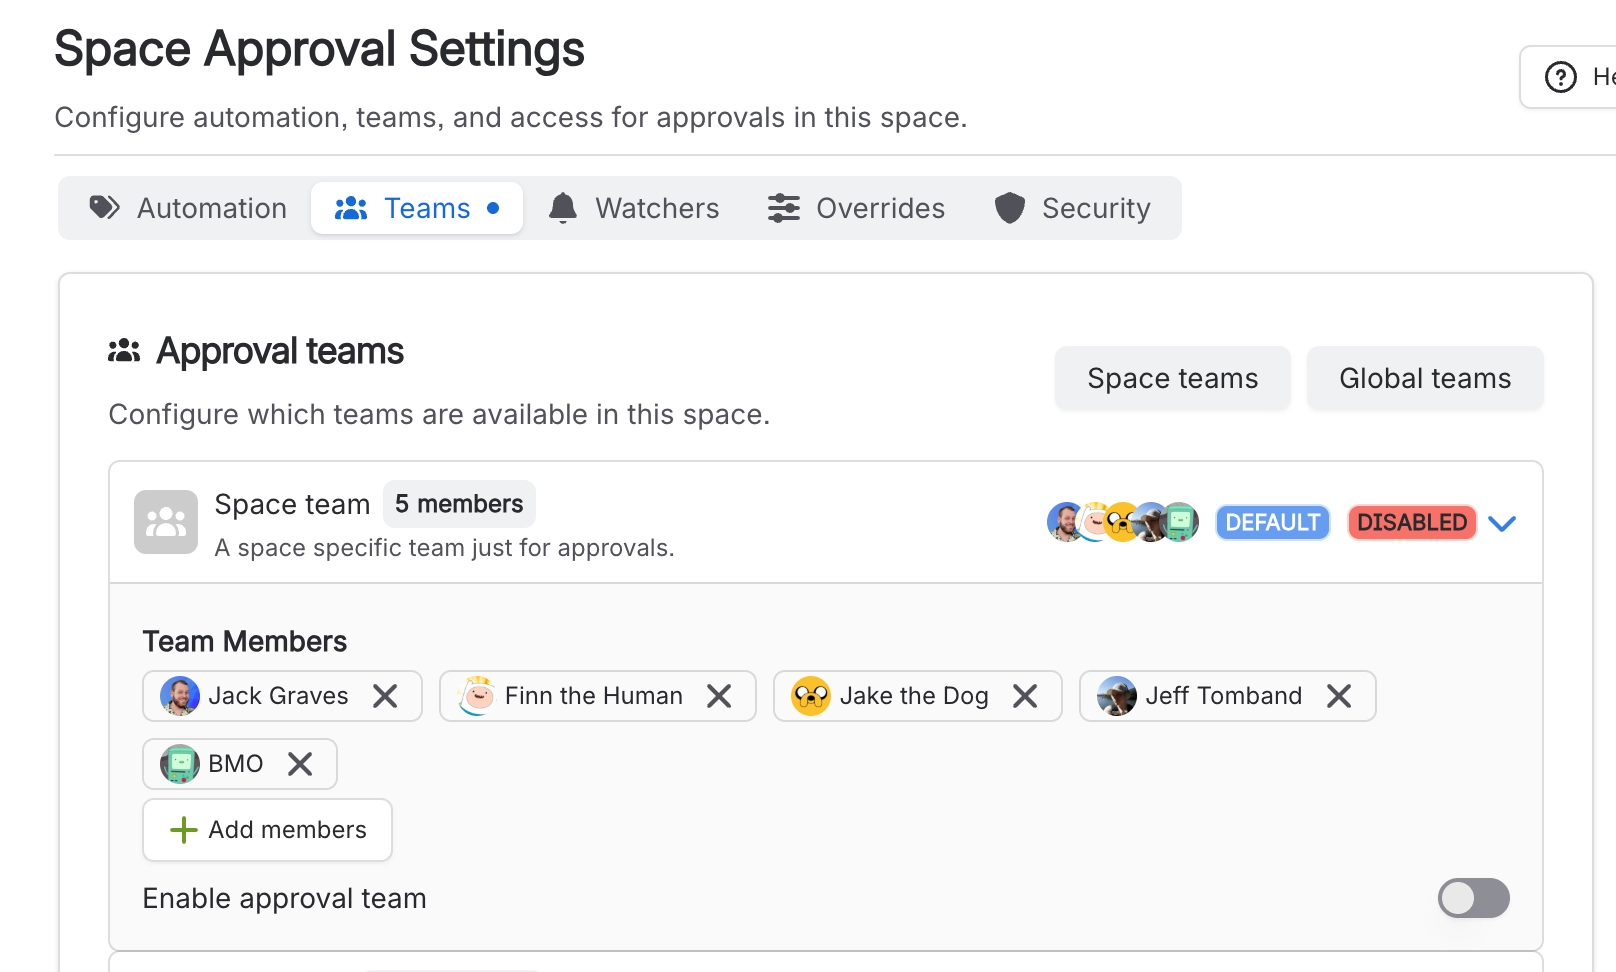
4. Enable the team in this space
This lets you configure approvers, rejections, expiration, and publishing options.
You don’t need to do this if you have enabled ‘Show in all spaces’ for a global team.
5. Team will shown in the panel on a page
Once enabled, the team will show up in the approval panel automatically, with a single click you can select the team and apply the setting.
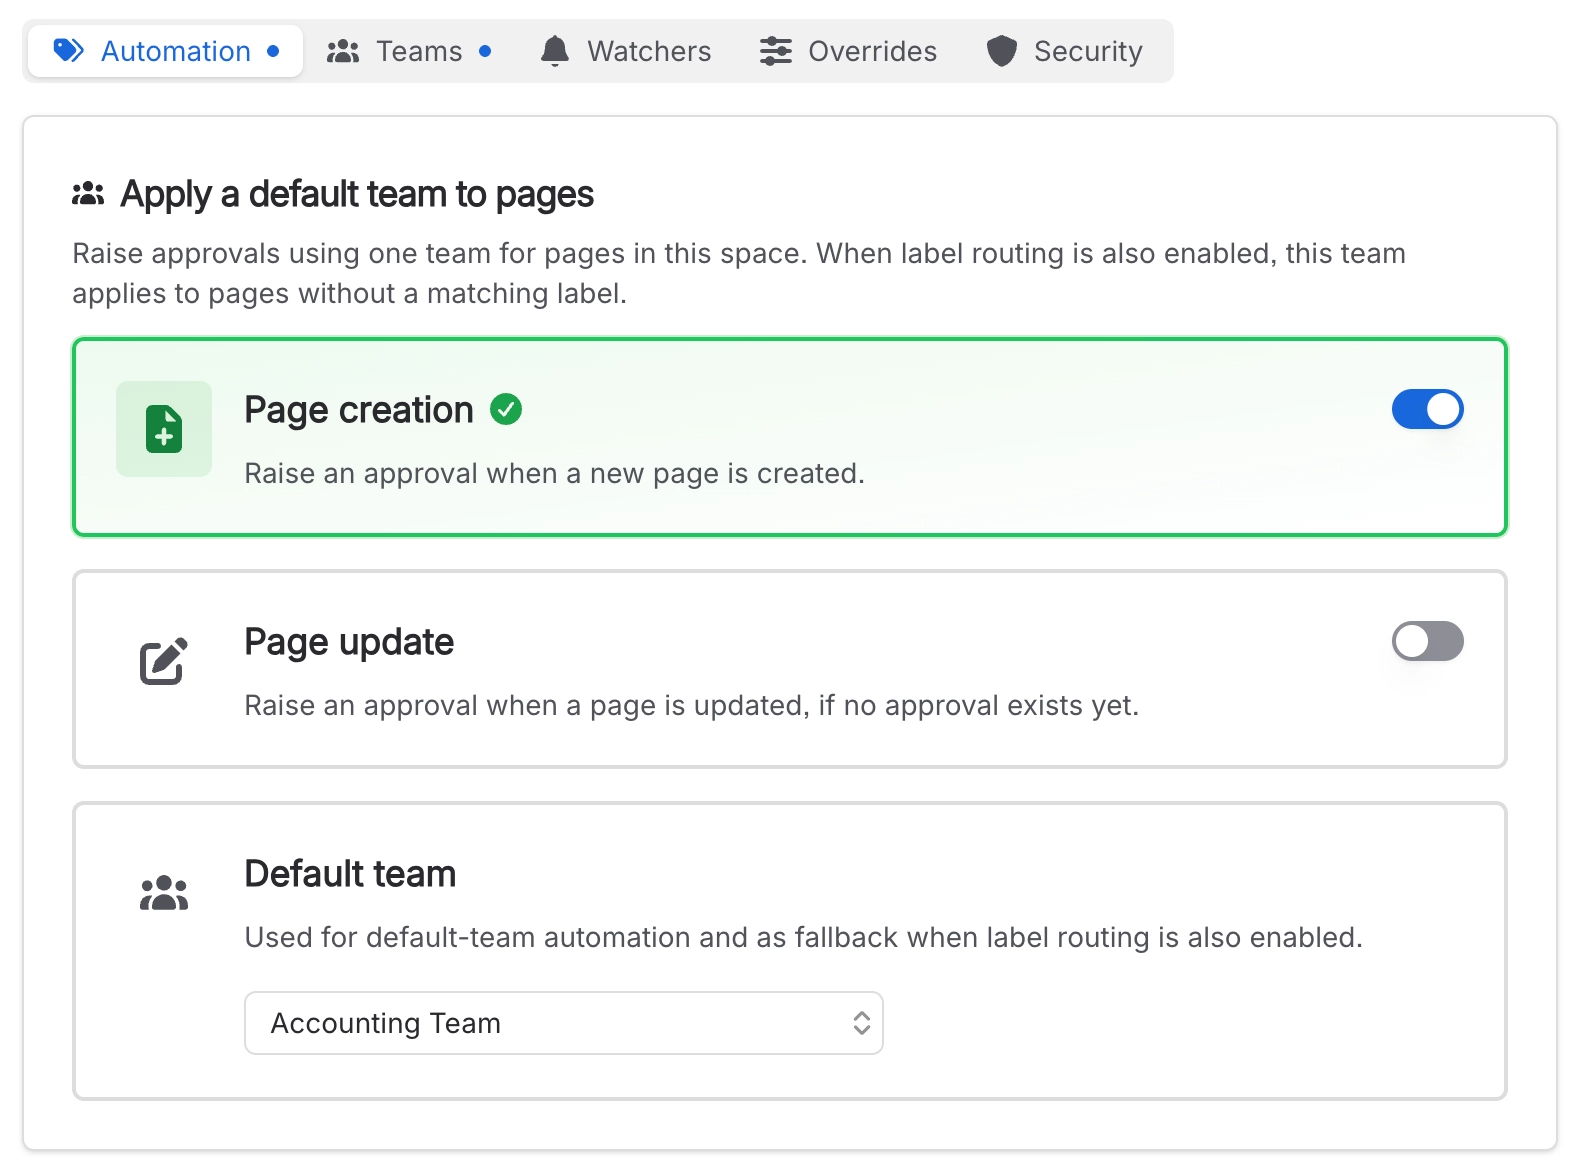
6. Enable automatic team assignment
Choose from the following options:
When a new page is published in the current space
When an existing page is updated in the current space
Option 2 is useful to move a space to full approval coverage.
7. Approval is applied to the page
Once selected, the action automatically requests approval and sends notifications.
#3. Automatic requests with labels
We look forward to integrating with Confluence Automation to trigger approval requests and perform other actions within Confluence when it becomes available.
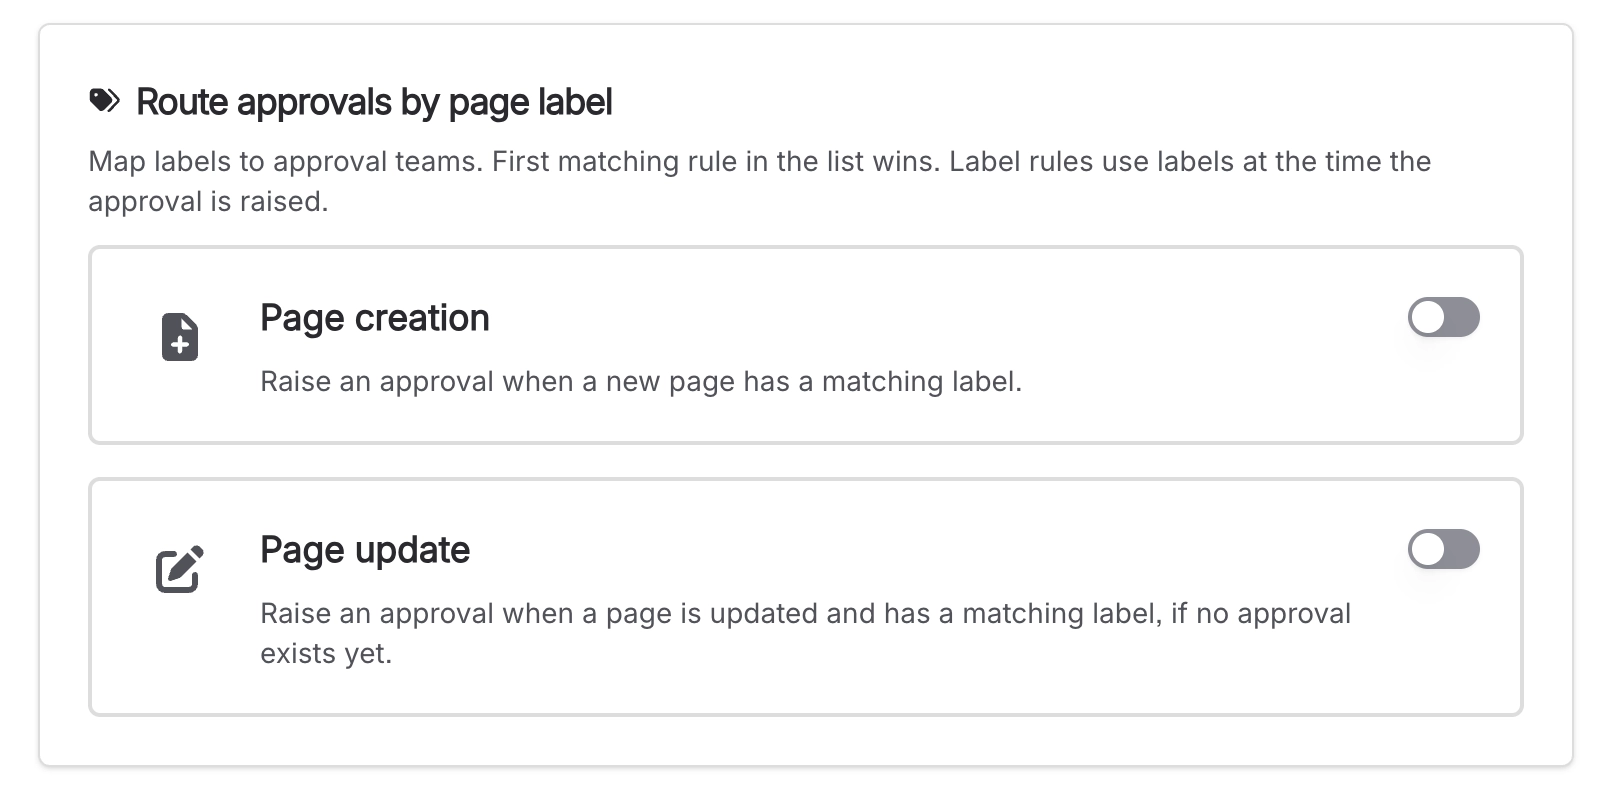
In the meantime, we wanted to provide a solution - label-based routing uses labels to assign teams (route them) based on labels being present when one of the following occurs:
A new page is published in the current space
An existing page is updated in the current space
If one of these events occurs, you can automatically assign a team based on the label applied to a page.
This means that you can use Capable Approval with Confluence Automation:
1. Open the Space Settings
Automation is applied at the space-level, so that different spaces can have different configurations.
2. Click on ‘Capable’ in the ‘Integration’ section
This will open the Capable Space Settings.
3. Set up a team
You can create a team globally as a Confluence admin or within a space as a space admin. A team consists of users or groups in Confluence.
You can now create a Globally Managed Team to make it available across all spaces.
4. Enable the team in this space
This lets you configure approvers, rejections, expiration, and publishing options.
You don’t need to do this if you have enabled ‘Show in all spaces’ for a global team.
5. Team will shown in the panel on a page
Once enabled, the team will show up in the approval panel automatically, with a single click you can select the team and apply the setting.
6. Set up label-based routing
Chose from these events to trigger an approval request assignment:
A new page is published in the current space
An existing page is updated in the current space
Then, map the labels to the teams you want to apply, which will use their settings based on their space settings, or global settings if it’s a Global Managed Team.
#Manual usage
You can add labels to a page in the editor, either before you create the page, or while updating a page. This will automatically request the approval.
You can also add labels to pages and the next time they are updated they will have the approval requested as configured.
You can add labels in bulk using Capable Search.
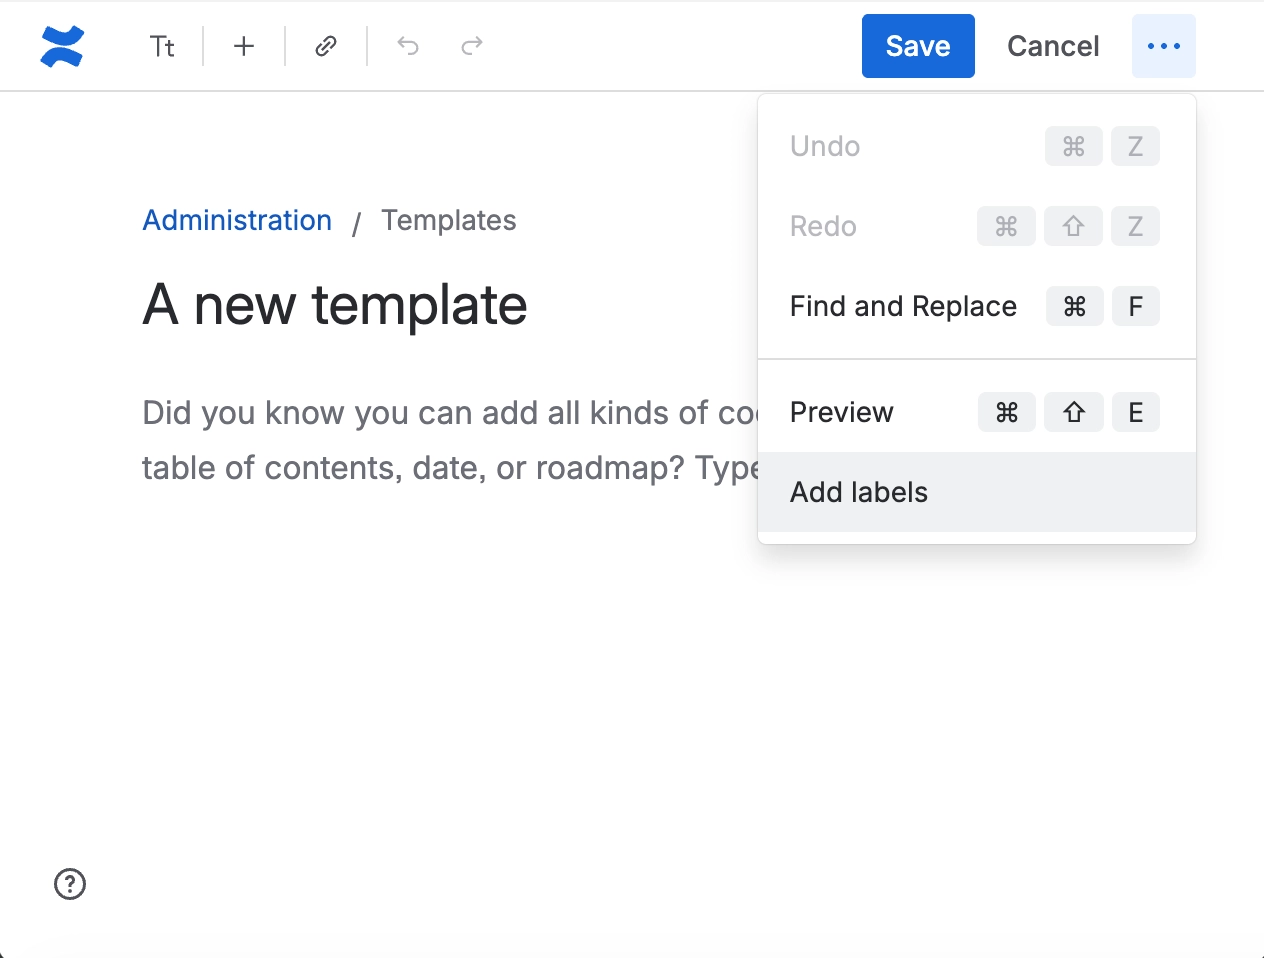
#Use with Templates
You can create templates in Confluence at the global or space level. These templates appear when creating a new page, providing a solid starting point - they can even be promoted.
Templates can have labels applied, which enables automatic routing to the correct approval team.
This means you can set up different templates for various types of requests, and then the system will automatically route each request to the appropriate team for approval, based on the labels assigned.
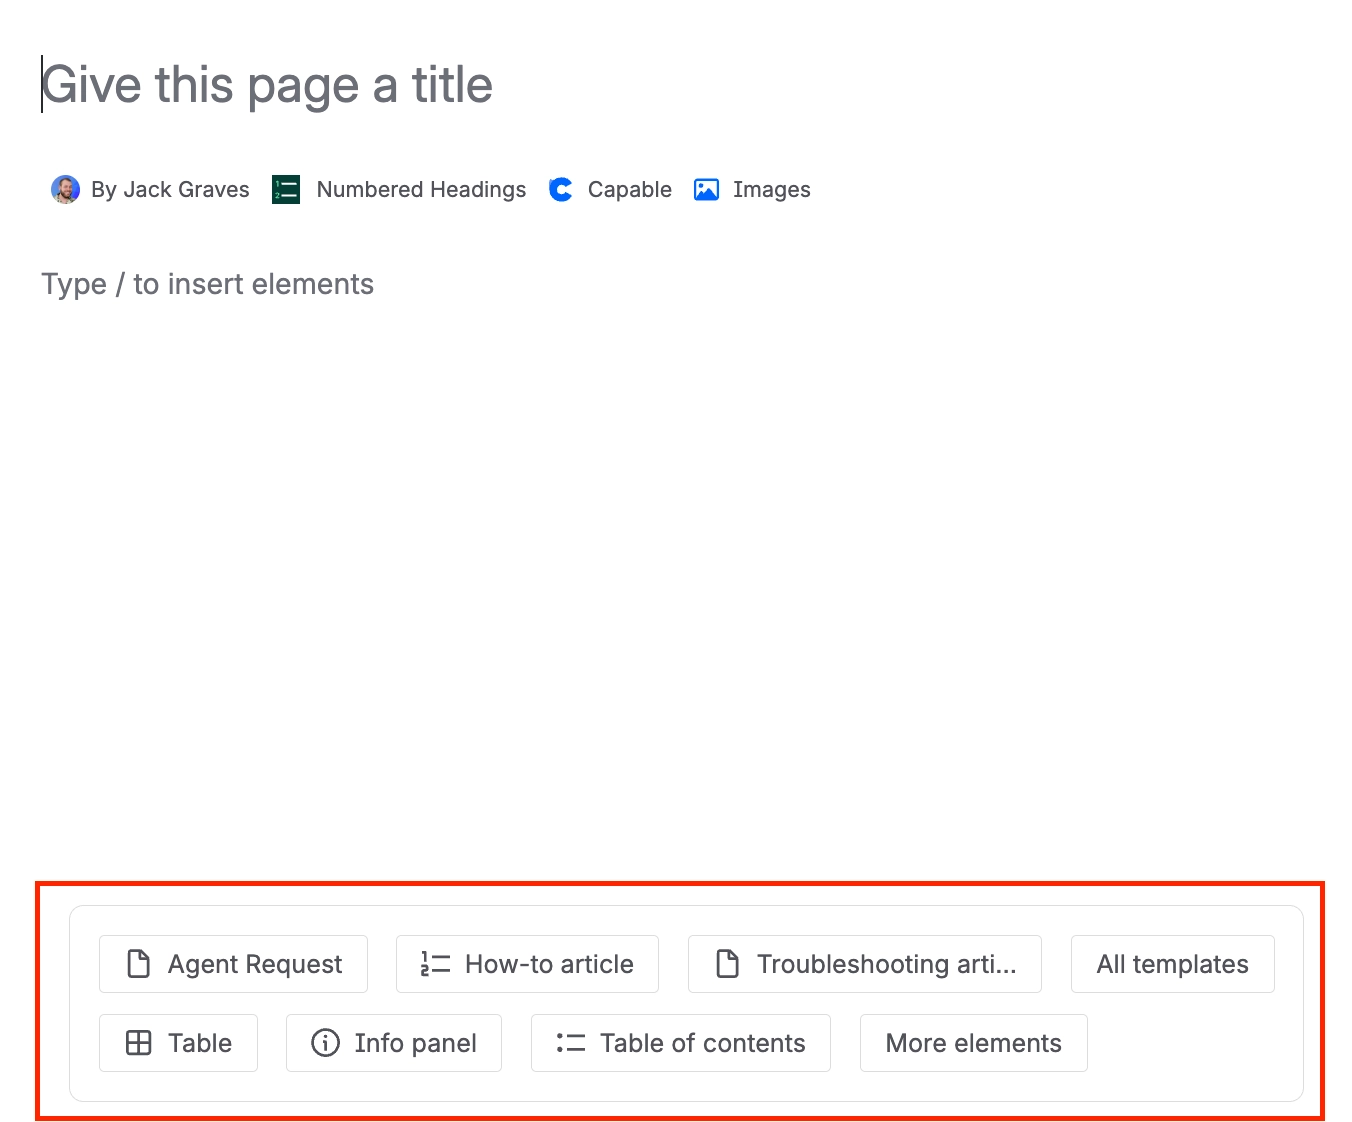
Templates that are promoted appear when creating a page:
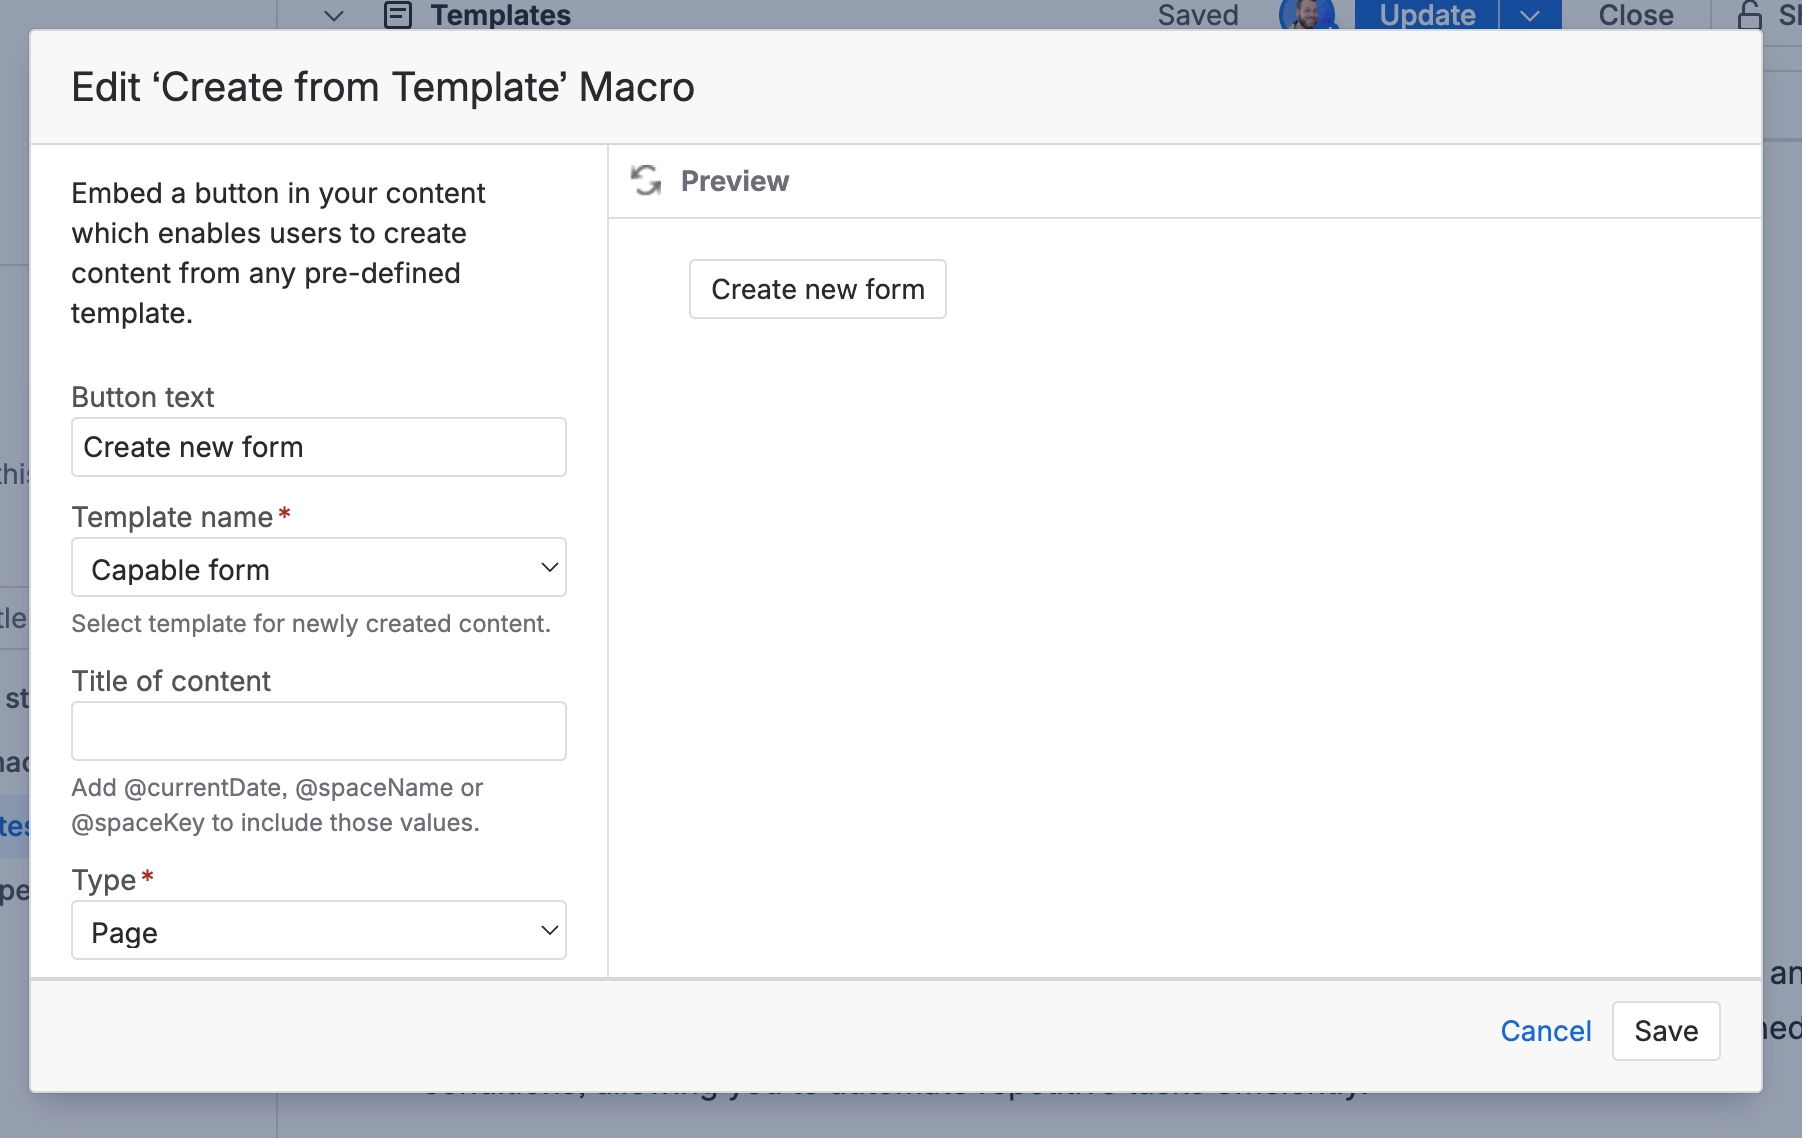
#Use the ‘Create from template’ macro
You can add the ‘Create from template’ macro to any Confluence page, which can create new pages when it’s clicked on, from your reusable templates.
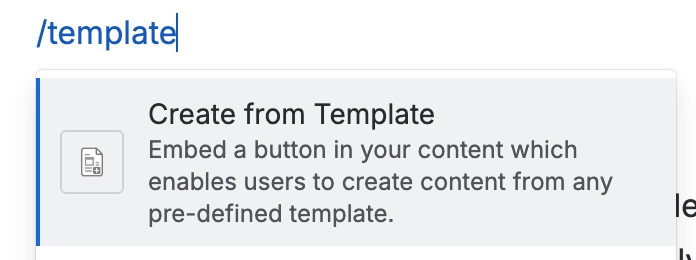
This macro allows users to quickly generate new pages based on predefined templates, streamlining the content creation process and ensuring consistency across your Confluence space.
These buttons provide a convenient way to streamline the page creation process by enabling users to start from predefined templates.
Combine with the Capable Search Results macro to show pages created via the button and include approval status, approvers, and expiry dates columns.
This functionality ensures that new pages are not only created quickly but are also automatically directed to the appropriate team, improving organisation and workflow efficiency.
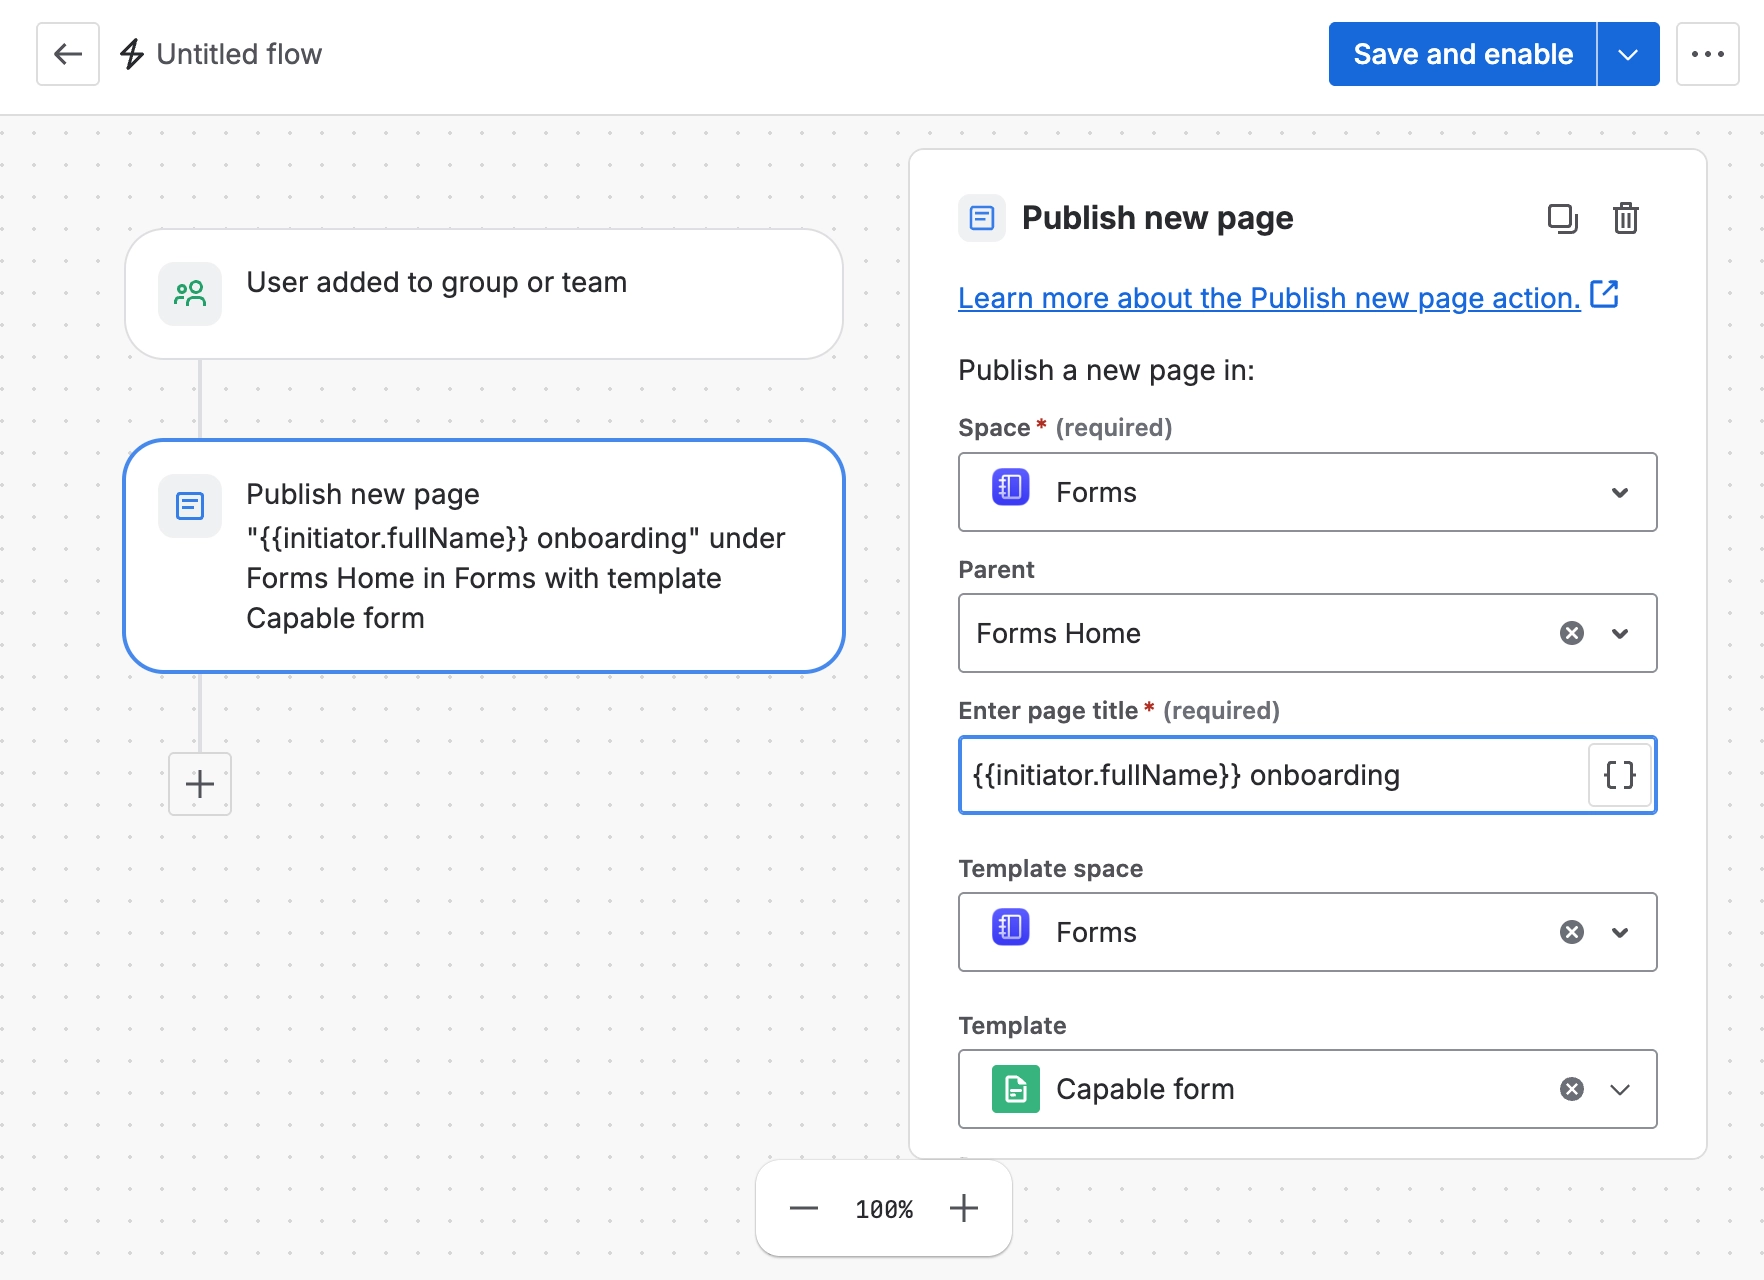
#Use with Automation
You can create and update pages using Confluence Automation workflows, which provides a powerful way to manage content dynamically.
This means you can automate your approval system by leveraging this automation framework, streamlining processes and reducing manual effort.
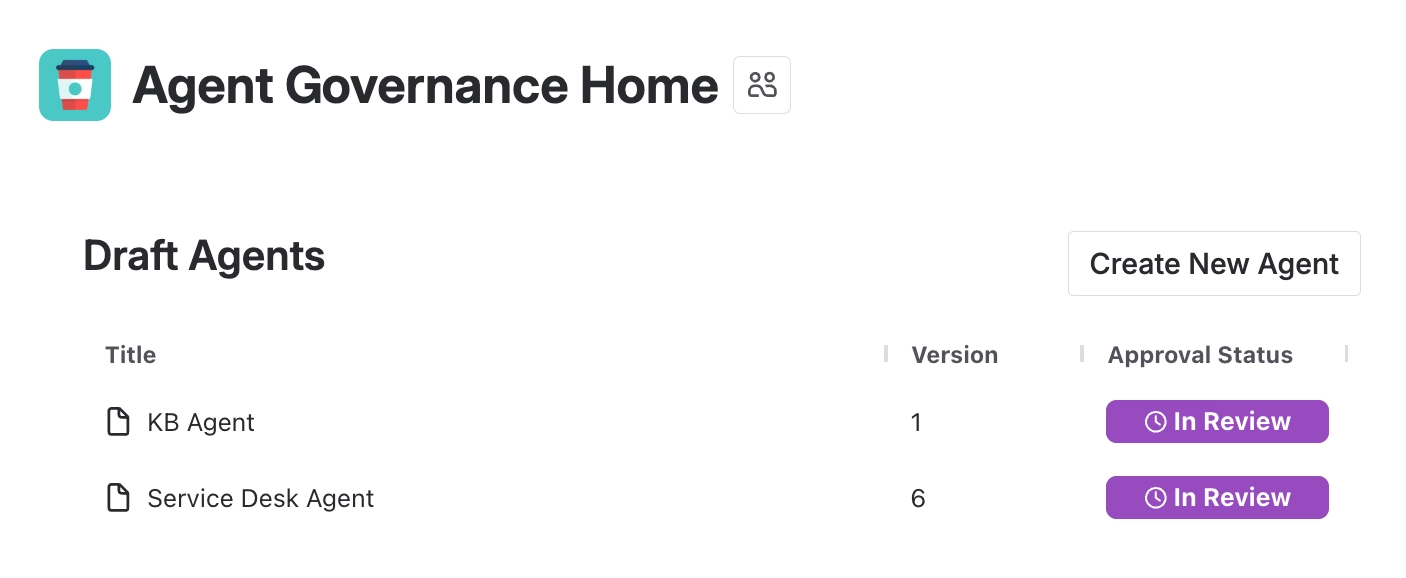
Upon the creation of a new space, it is possible to generate a page, notify the space creator via email, and automatically assign the approval request. This process enables the creator to complete a form or similar documentation efficiently and get approval.
If a user is added to your site you can create a page, for example, an onboarding guide for them or a guide and automatically email them to complete it.
Capable Forms (available in Advanced Edition) pairs well with this feature, letting you gather user responses on pages.
#Use with Smart Button
Confluence includes a useful feature known as Smart Buttons. These buttons enable you to carry out various automation actions directly from within a Confluence page, streamlining your workflow and increasing efficiency.
Allow users to send the page for approval from the correct team when they are ready, by simply clicking a button.
Create new pages from a button in your preferred location, send an email to someone and automatically assign the right people to approve it.
Follow these instructions to use Smart Buttons:
1. Type /smart and click on ‘Smart Button’ to add a smart button
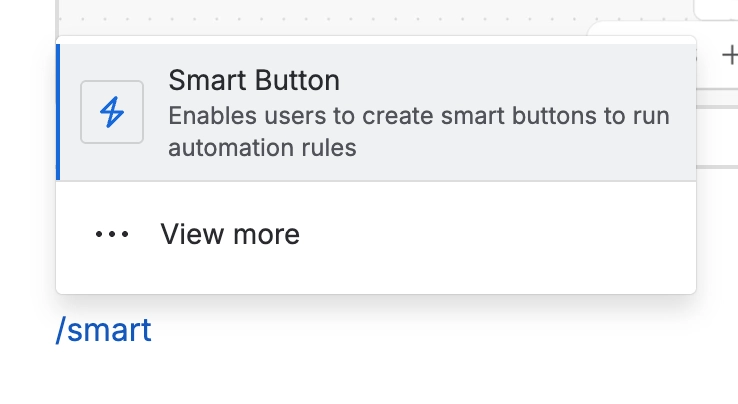
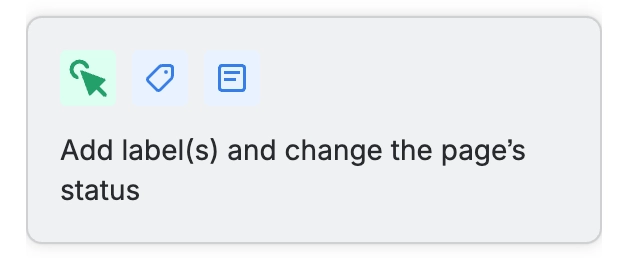
2. Configure what you want it to do
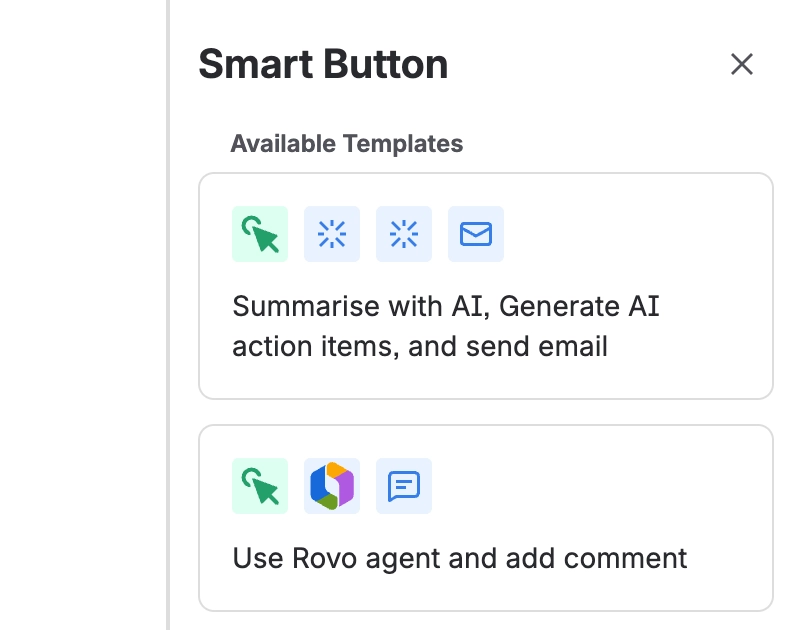
3. Use this one to assign an approval to this page
4. Your button is ready
