Using the calendar macro
Learn how to add calendars to your Confluence pages.
Whether you're scheduling tasks, assigning dates to users, or just organizing your workload, our guide makes it easy and engaging. Learn how to add dates, configure the macro, and fully leverage its features to enhance your planning and organizational tasks.
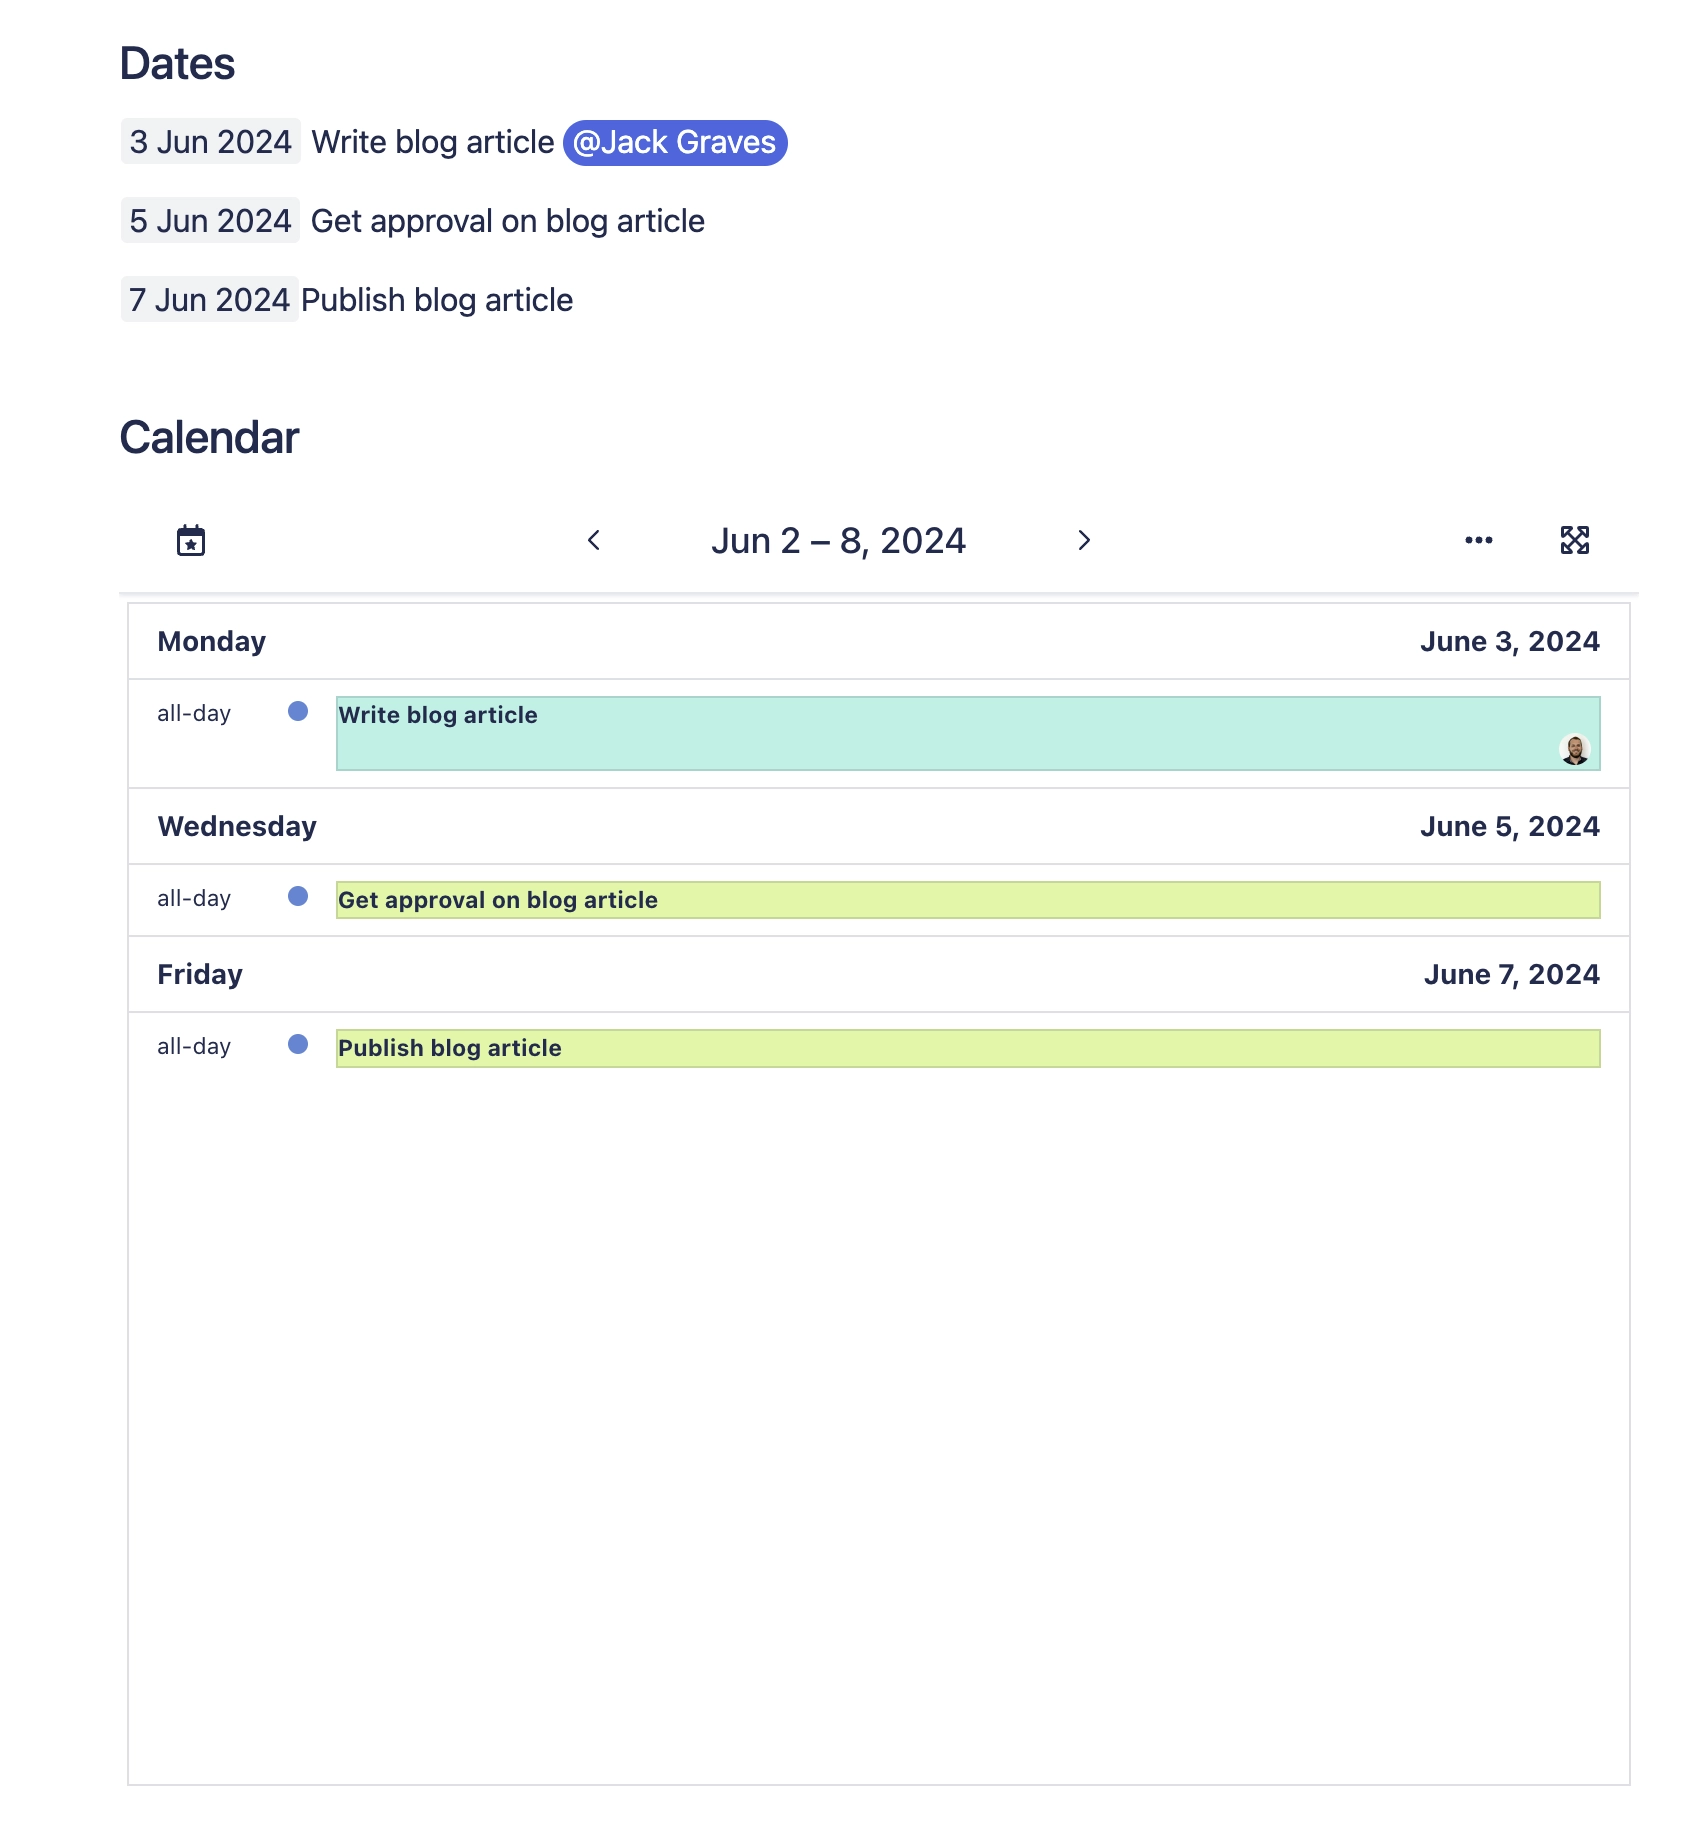
You can use the Calendar macro to show events from a linked calendar (for example a Space or Global Calendar), or can show events from the current page.
#1. Add some dates to your page with //
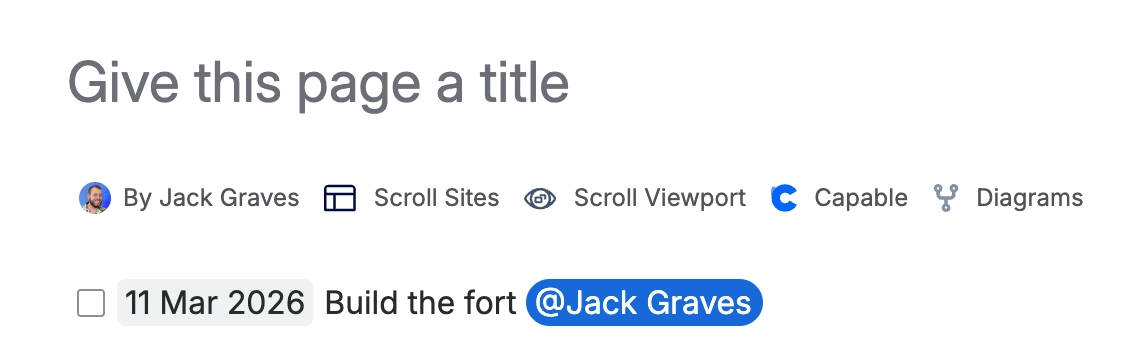
You can include a user who is assigned to this date and wrap the date inside a task or decision and this will be displayed on the calendar. You can write these as single line dates, or as a table of events.
#1.a. Using bullets
You can simply write dates onto new lines and use the Task, Bullet or Numbered List options.
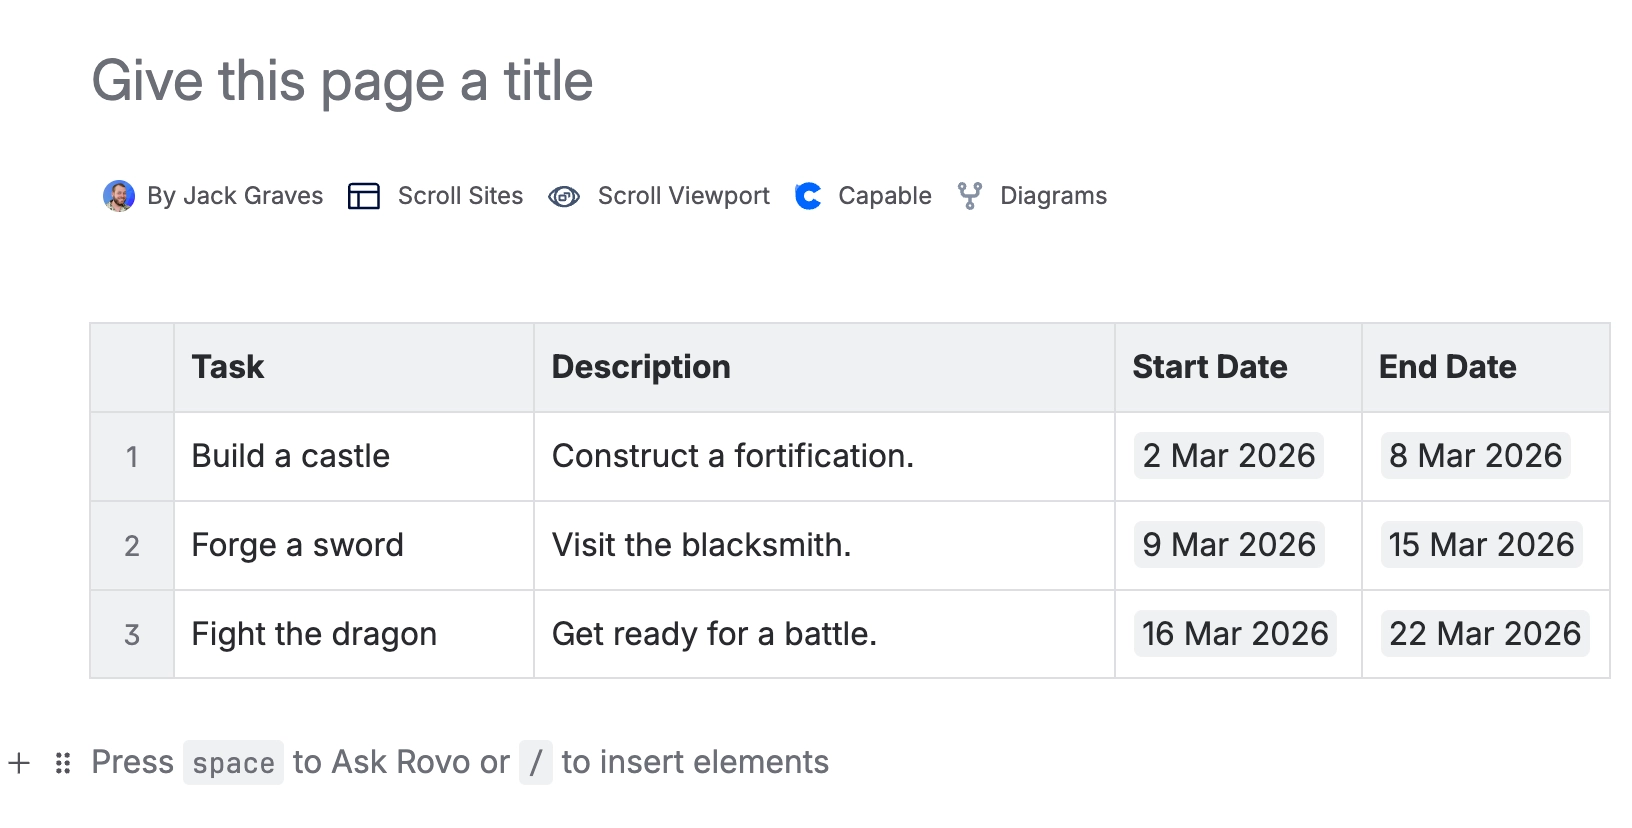
#1.b. Using a table
Tables can include start and end dates for events, in addition to the user, task and date.
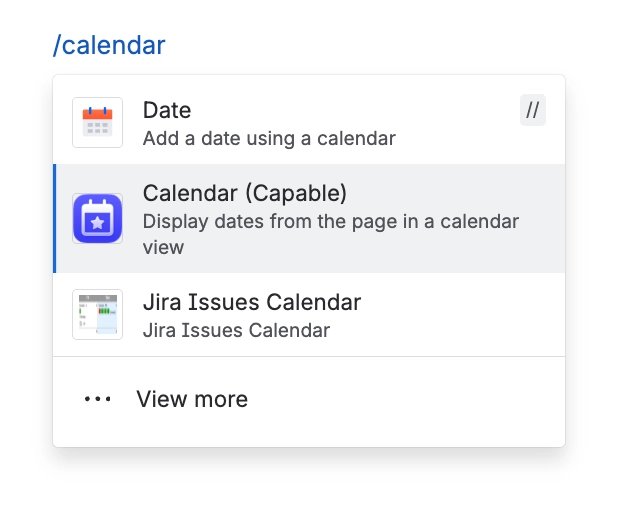
#2. Type /calendar in the editor and press Enter
This will insert the calendar macro.
You must save your page for changes to reflect in the calendar.
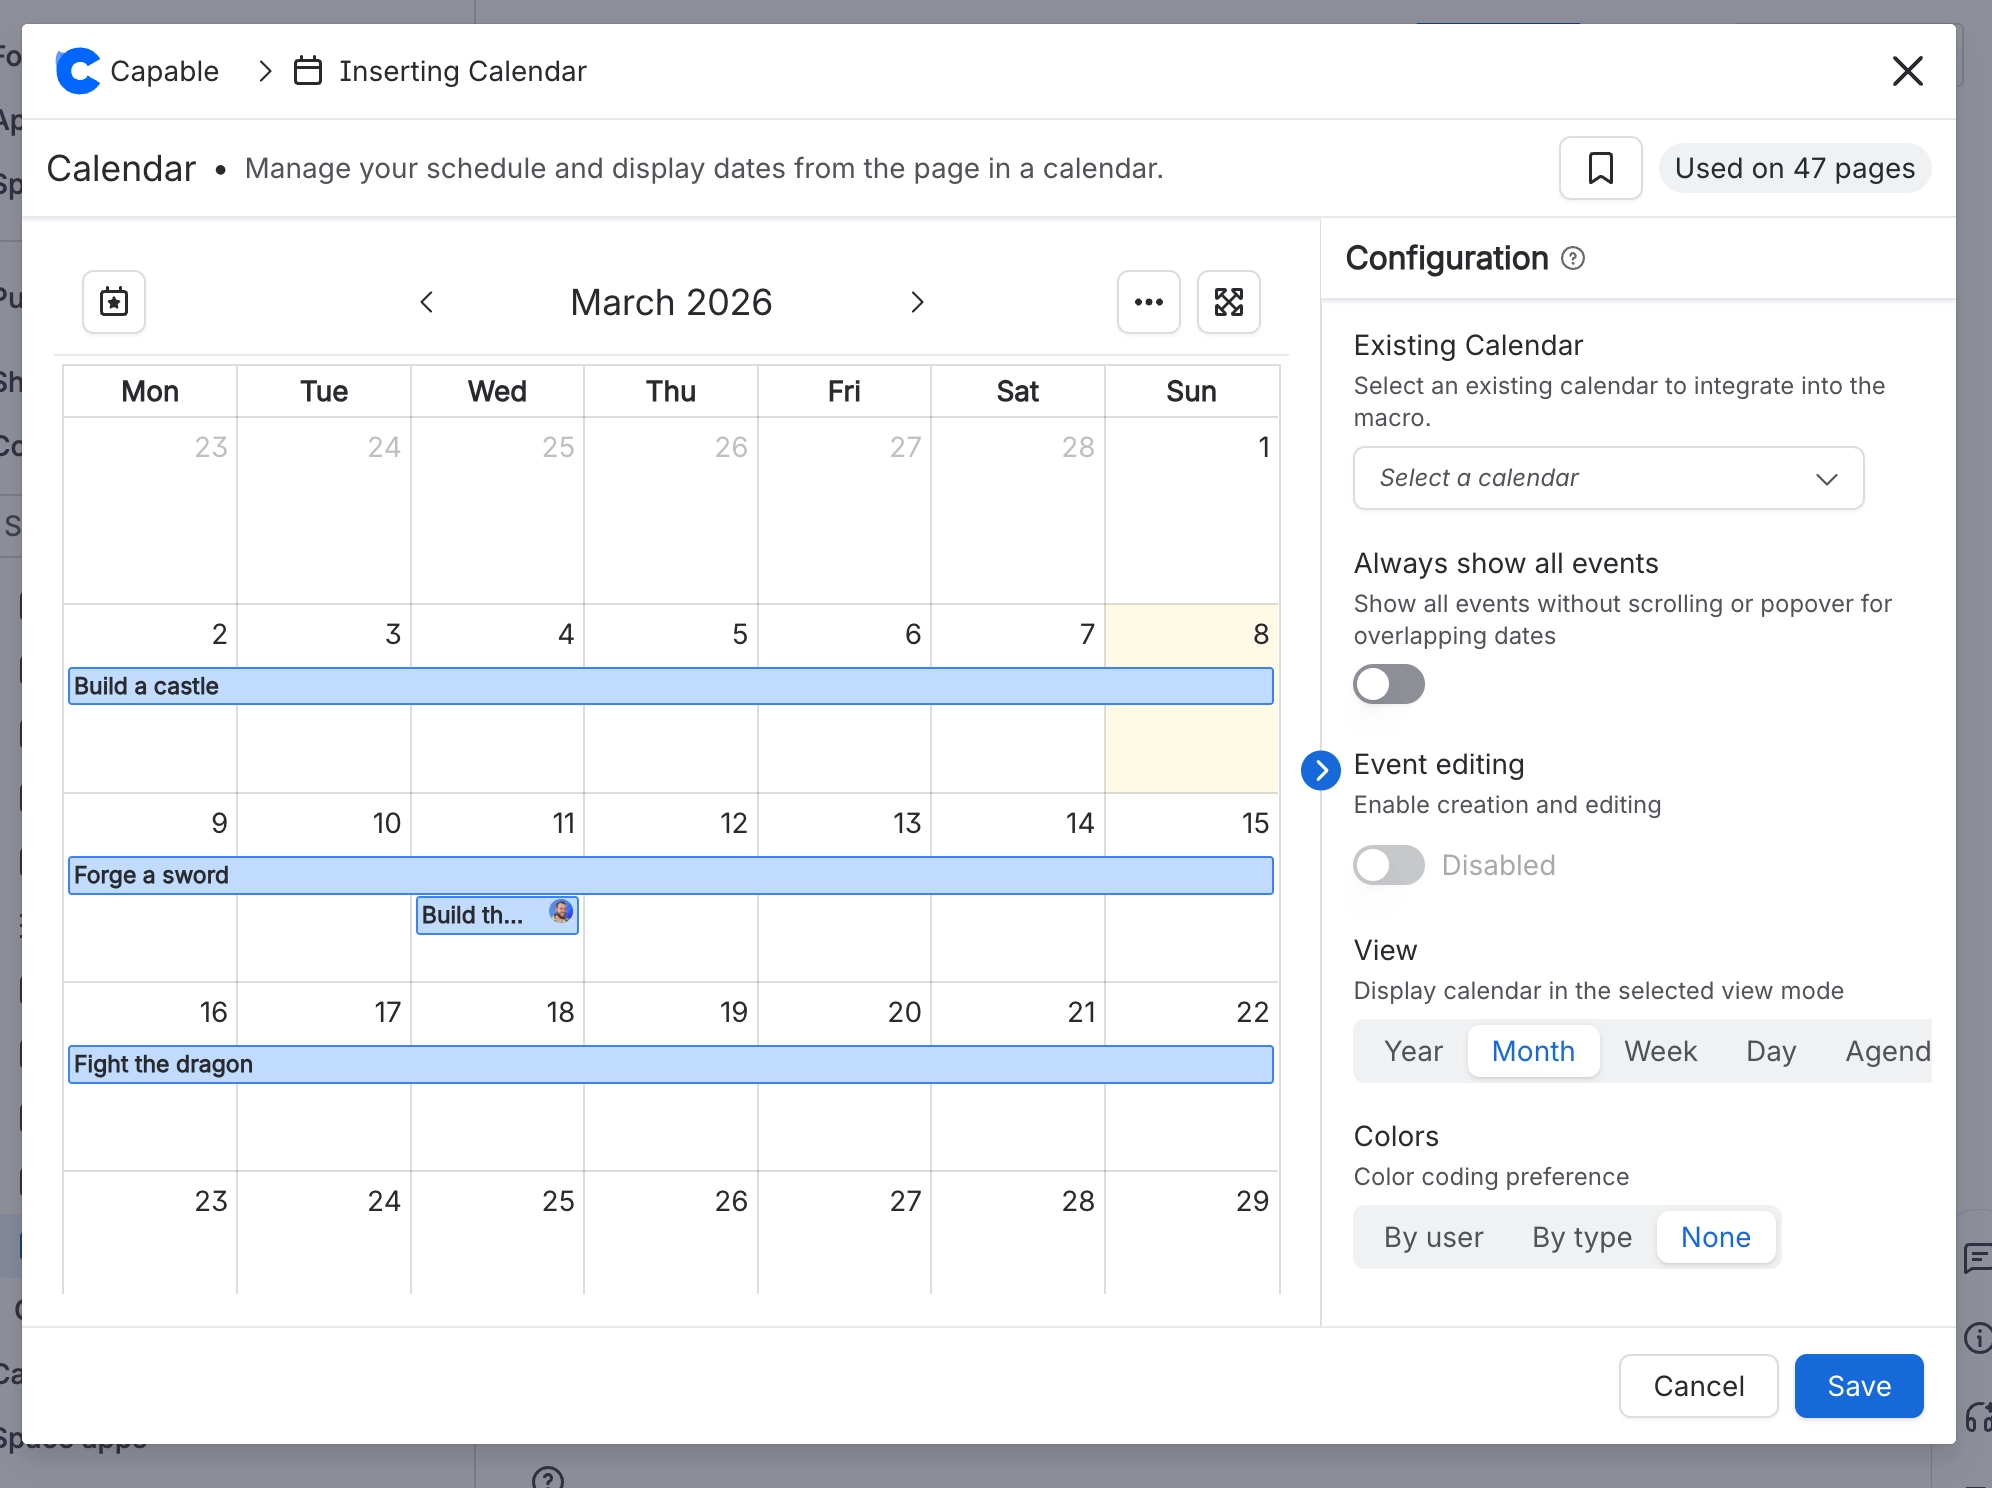
#3. Change macro configuration
The following options can be changed:
Attach to a calendar saved globally or within the current space
Should calendar events be editable?
What events should be displayed?
What view you would like displayed?
Yearly
Monthly
Weekly
Day
Agenda
How tall (height) would you like the calendar?
How should cards in the calendar be highlighted?
By user mentioned
By page
By type
None
Whether user avatars should be displayed when a user is mentioned.
#4. Using the Macro
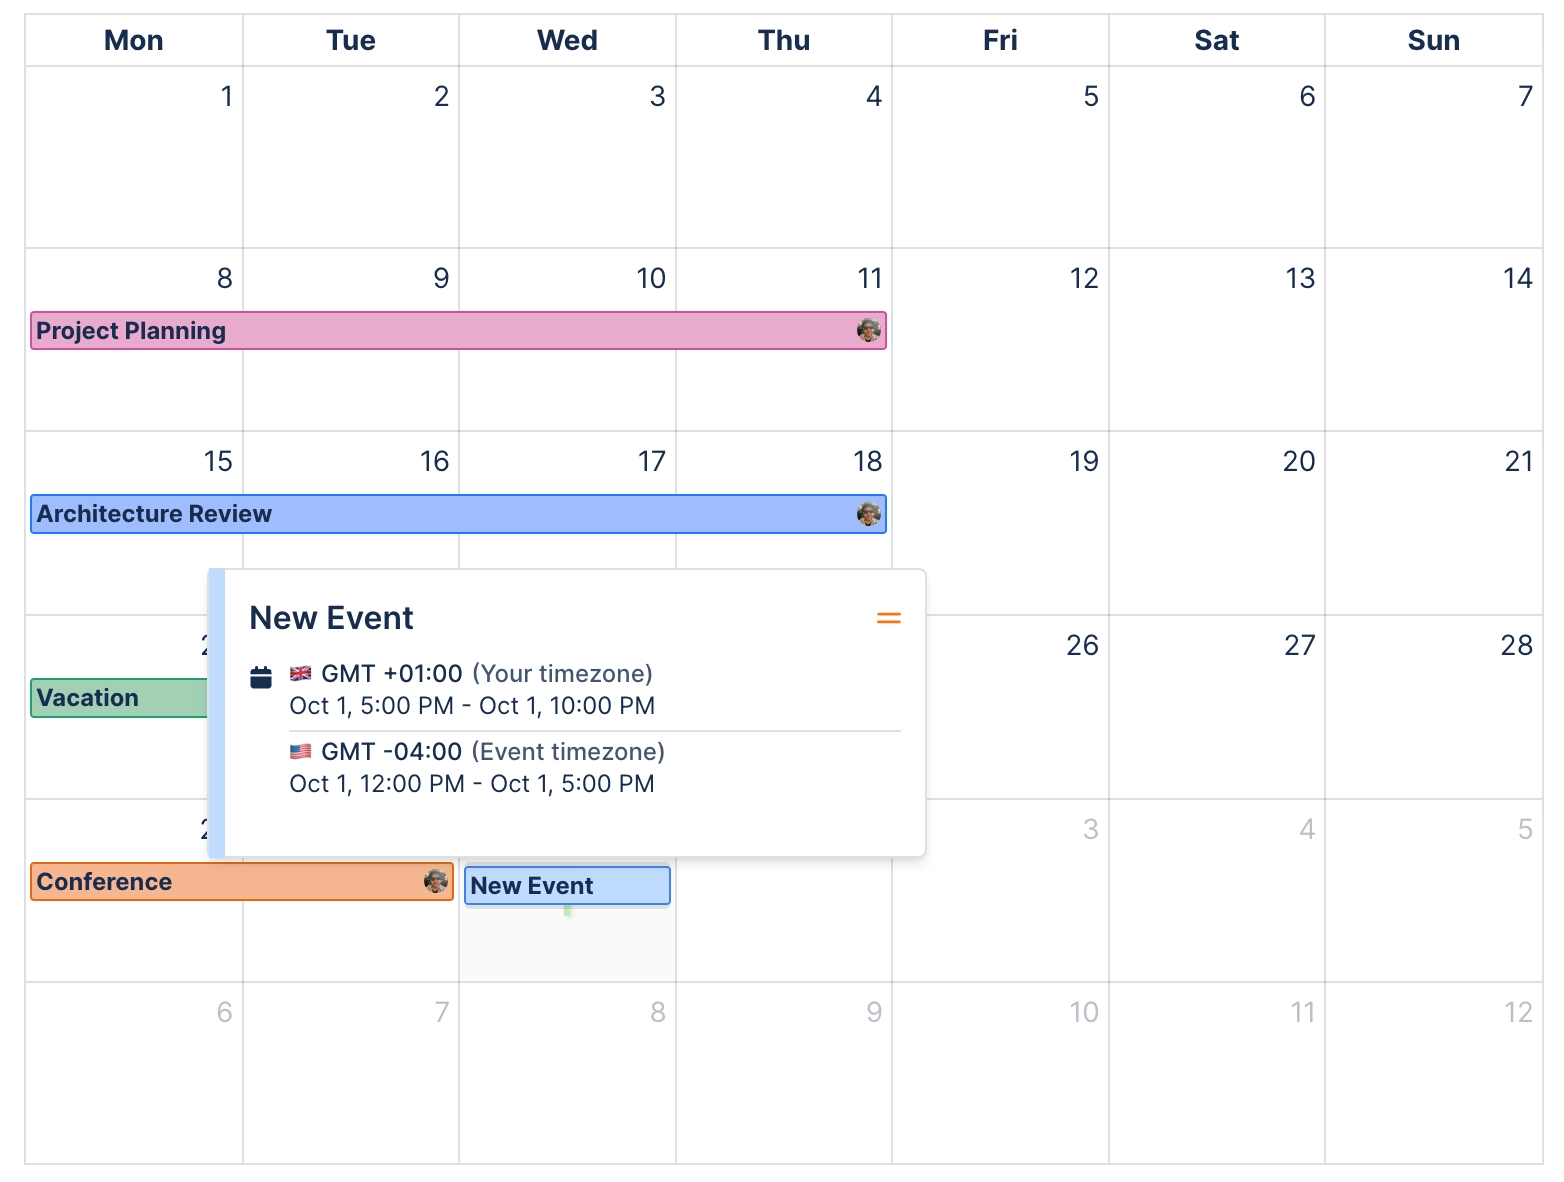
#4.1. Hover over events to view more info about them
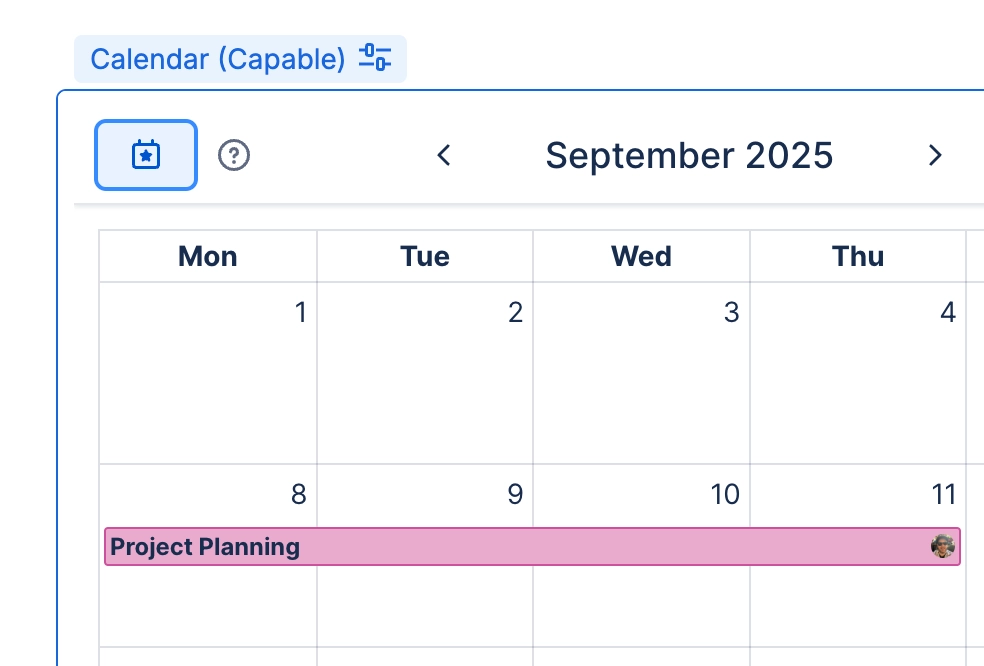
#4.2. Go to today
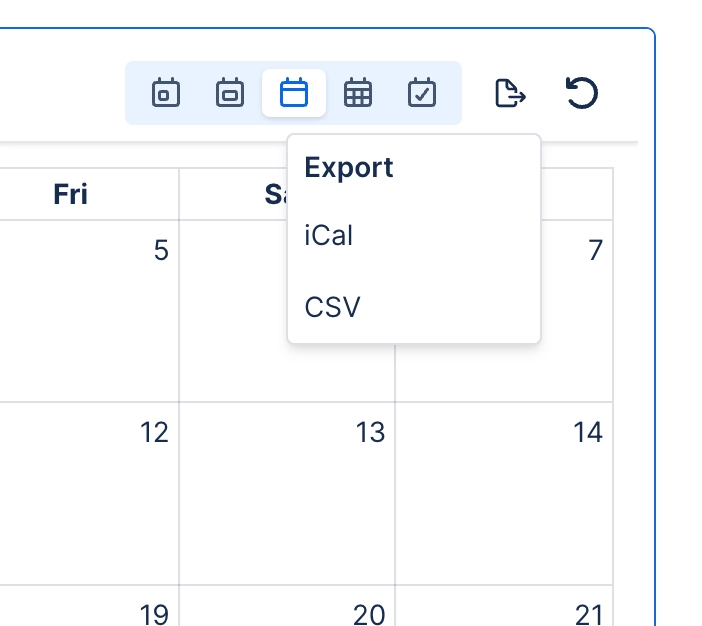
#4.3. Export dates to your calendar app
We support the following event formats:
iCal (Outlook, Apple Calendar, Google Mail etc.)
Comma Separated Values (CSV)
#4.4. Change View Mode

#4.6. Check out Agenda view for keeping up-to-date