Move items through workflow
With your workflow in place, it’s time to use Workflow Hub at the item level — this is where daily task management happens. The Item View gives each team member clarity on what step an item is in and what actions are possible next.
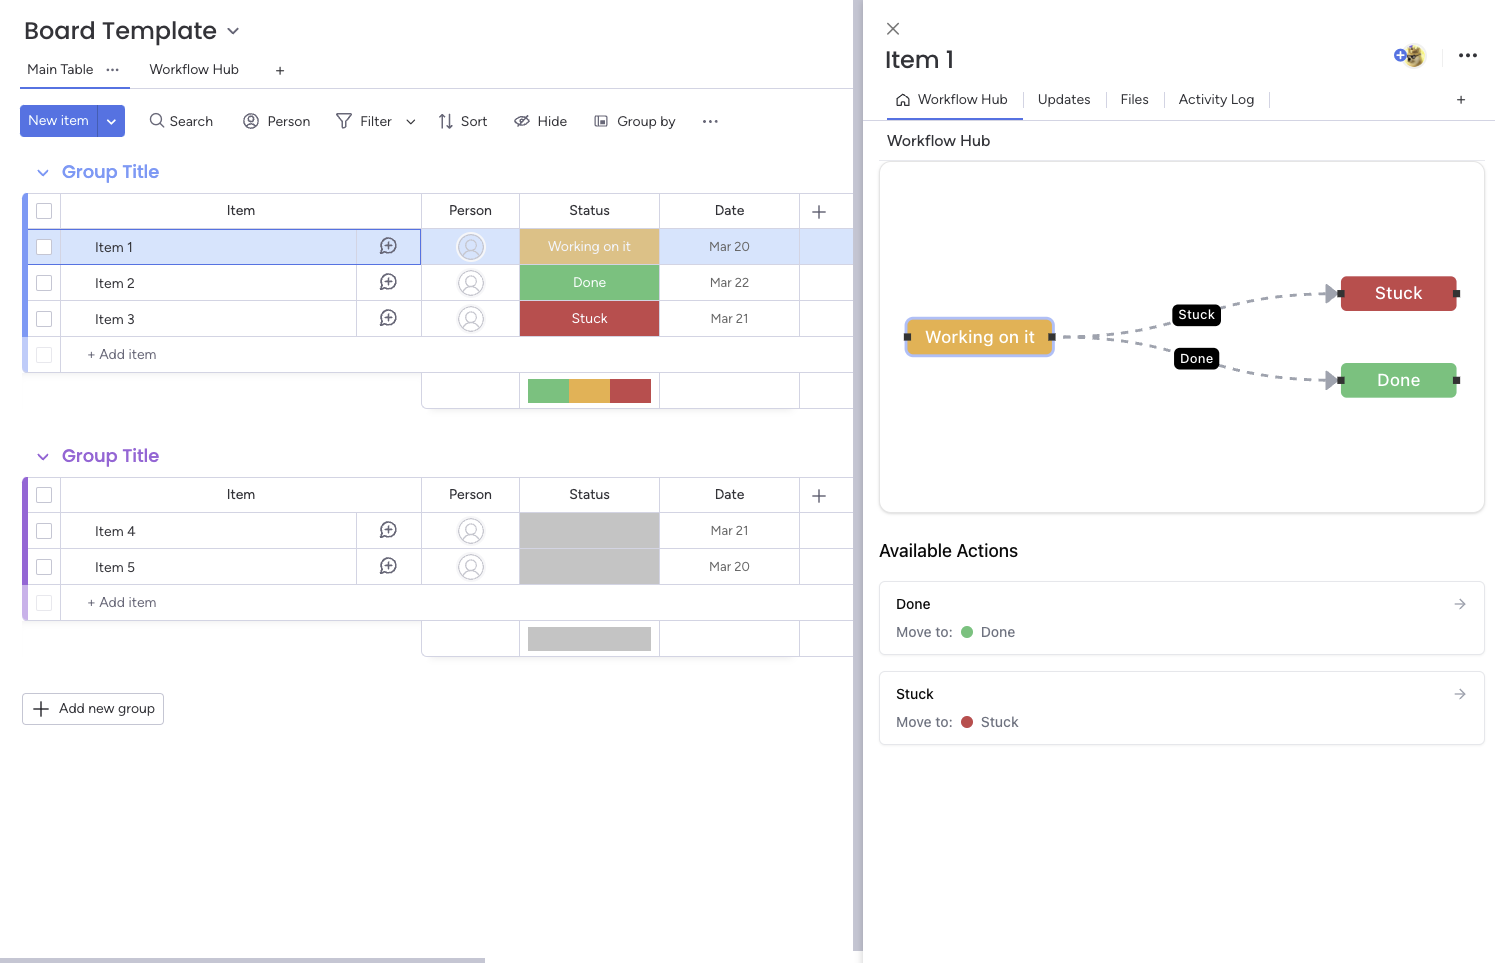
Access the Workflow Hub Item View:
Click into any item on the board.
Select the “Workflow Hub” tab from the item view options.
If it’s not already visible, click the “+” to add it.
Understand the Interface:
At the top, you’ll see the item’s current status.
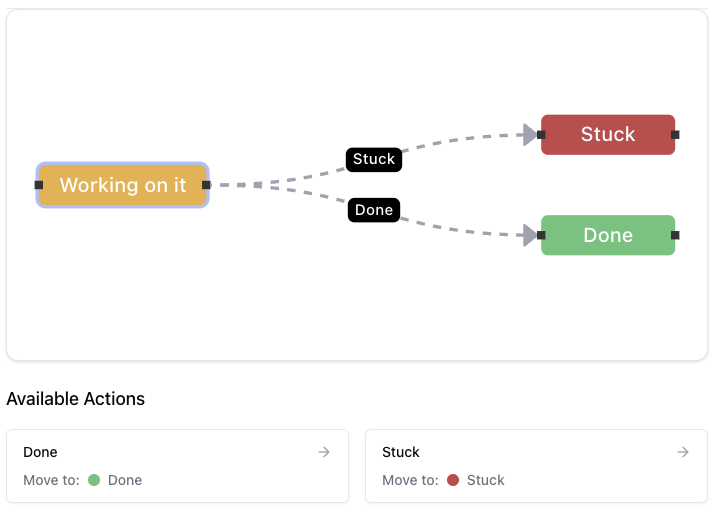
Below that is a visual map of all available transitions for that item based on the workflow you created in the board view.
Transitions are shown as clickable paths leading to the next valid statuses.
Taking Action:
Click on any available transition to move the item forward in the workflow.
The status column on the item will update instantly, and any automations tied to that status can also trigger (e.g. notifications, item movement, time tracking).
Customizing Transition Visibility:
By default, all transitions are visible.
You can configure the workflow to only show allowed transitions, which reduces clutter and keeps users from jumping out of sequence.
This is especially helpful for regulated or structured workflows where only certain actions should be possible from a given state.
Benefits:
Clear, visual guidance on what to do next.
Reduced errors and fewer missteps.
More consistent progress tracking and accountability.
This item view makes Workflow Hub not just a planning tool, but a real-time operational assistant for your team. It ensures tasks move correctly and efficiently through your custom-defined process.


.png)